

As every wargamer knows, the idea of starting a new army is great fun. You can spend hours making and revising your army list to work out exactly how you want your army to look on the table, and you can spend even longer looking at exactly what minis you want to buy.
When all of those minis finally turn up, and the mountain of metal is in front of you, it can be a bit more daunting to get that army based, painted and on the table than we first thought!
I am going to take you through the process I would suggest to anyone starting out in the hobby, or indeed anyone who wants to get that army that's been sat there for far too long, painted and based quickly, to a level that you're happy with, all in under 10 minutes or less per mini!
No speed-paints, no washes. All acrylics!
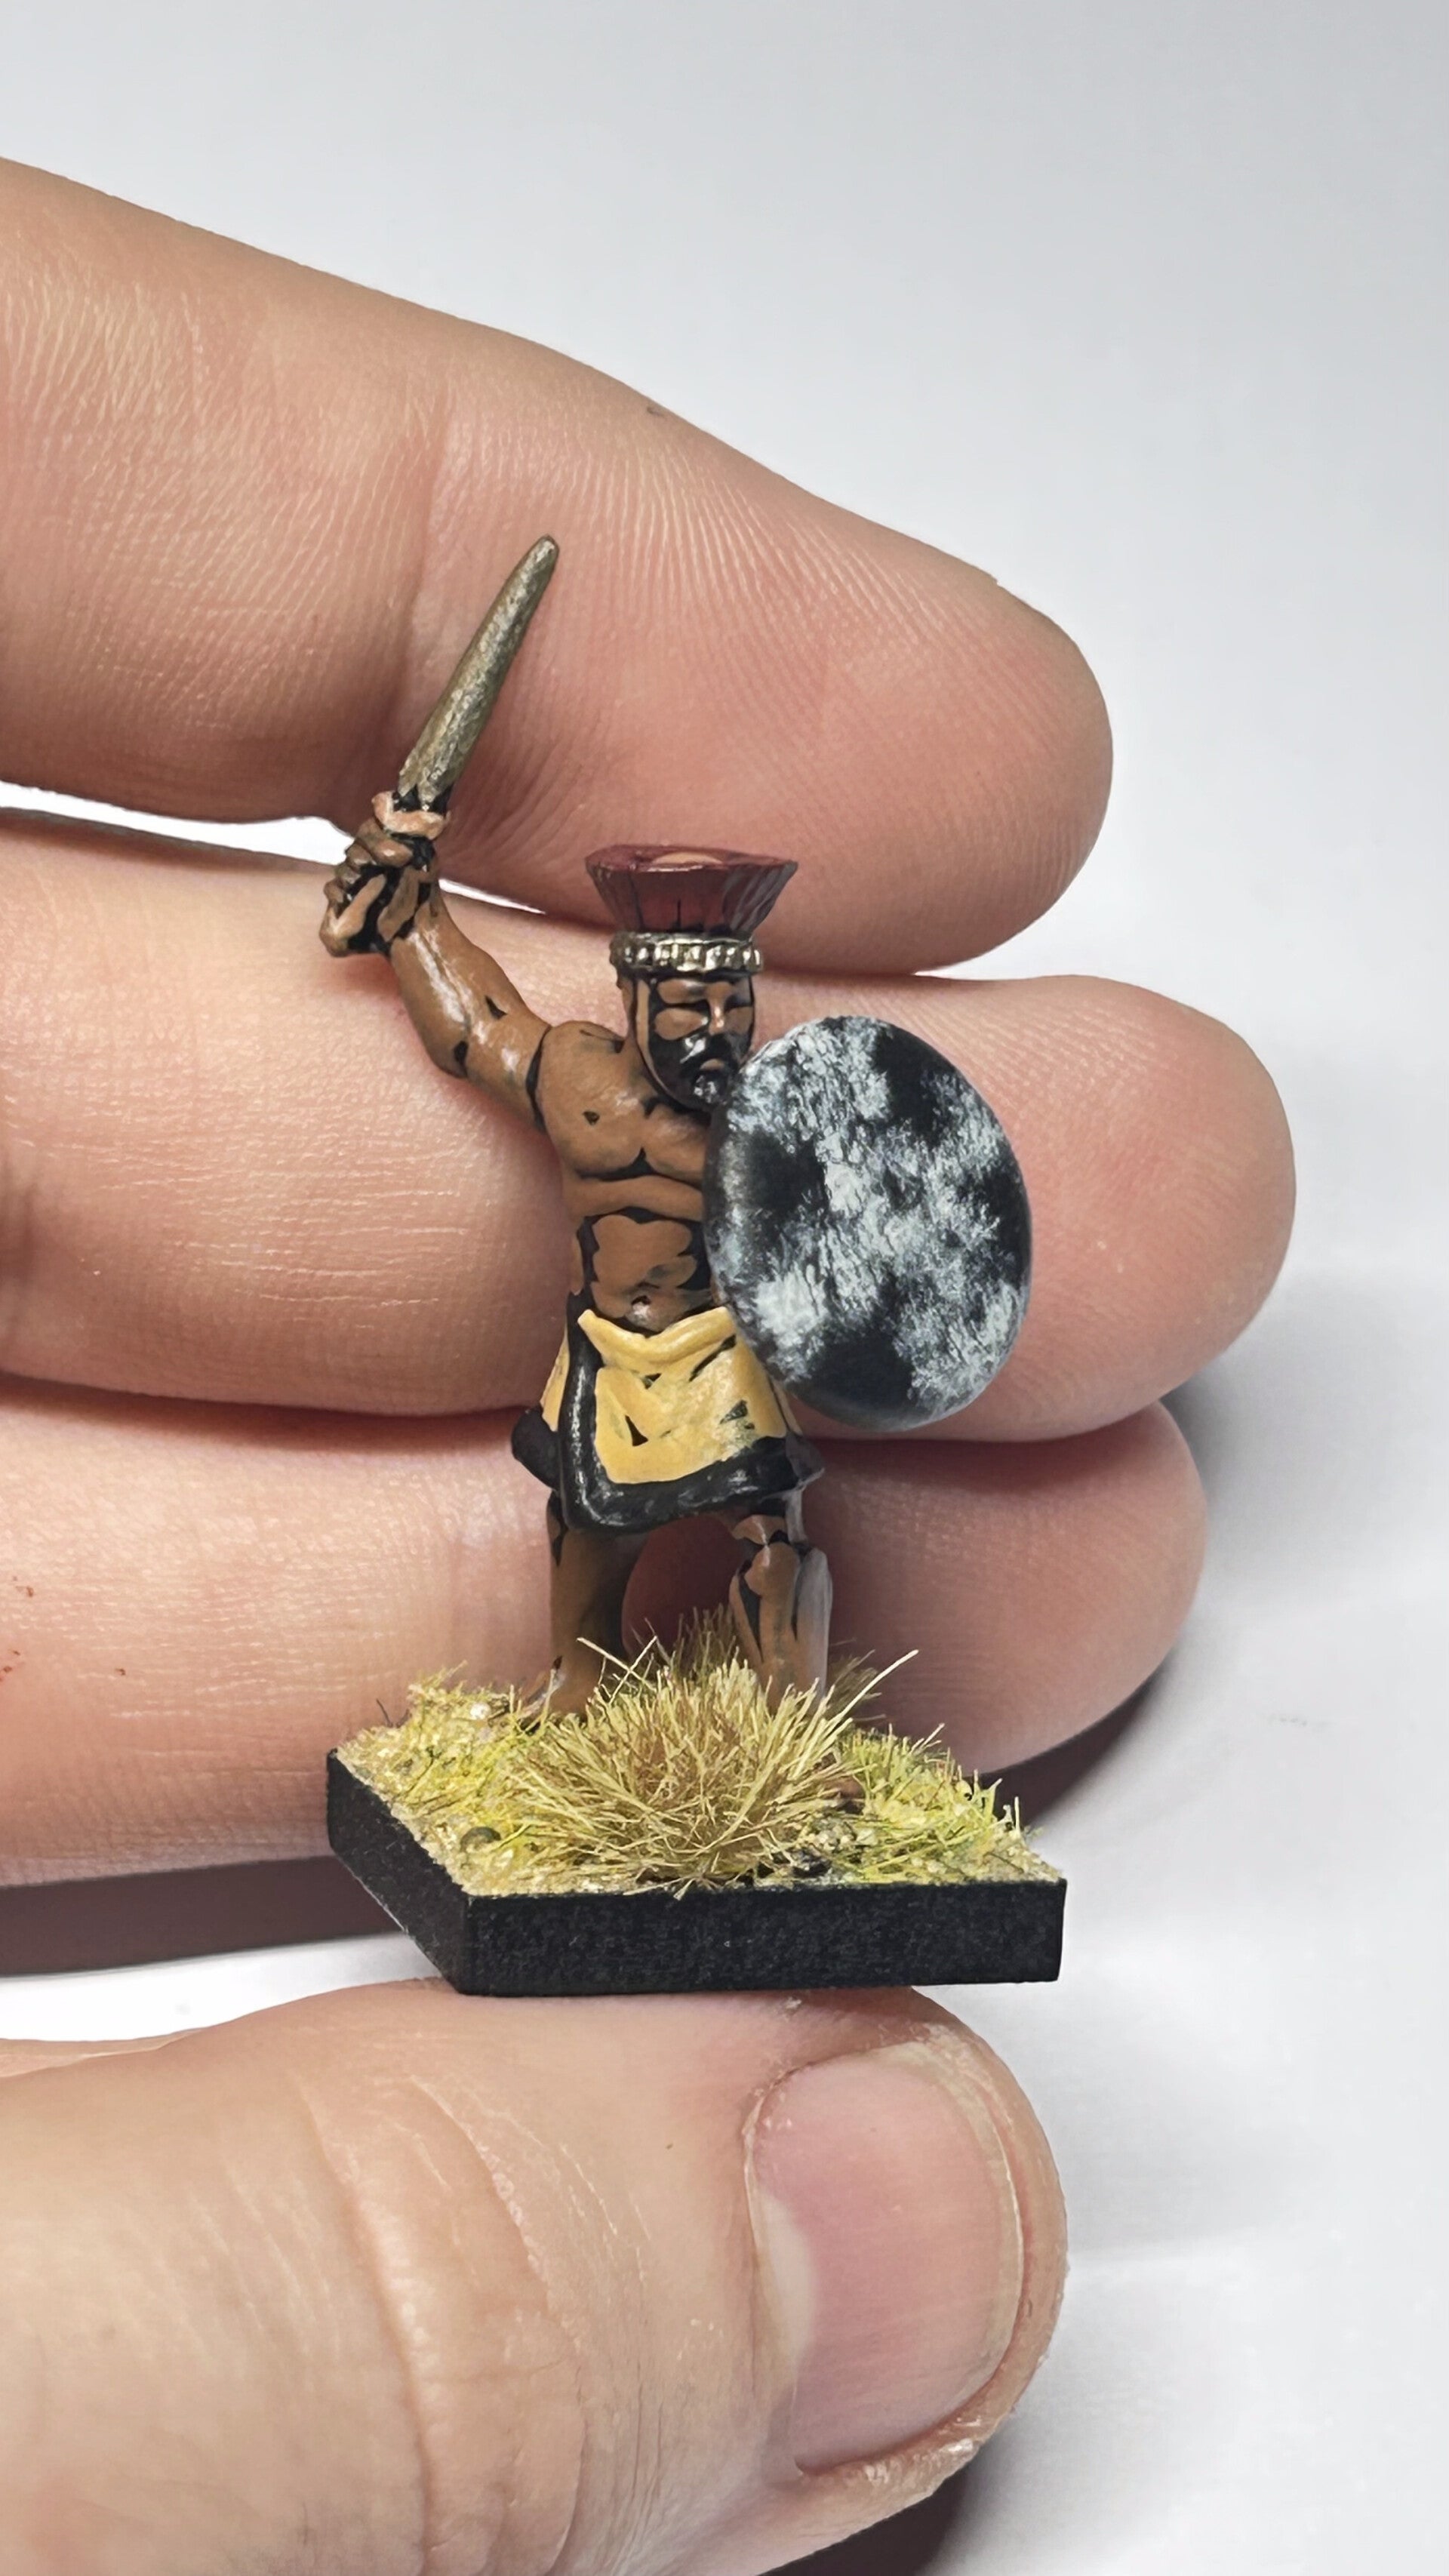
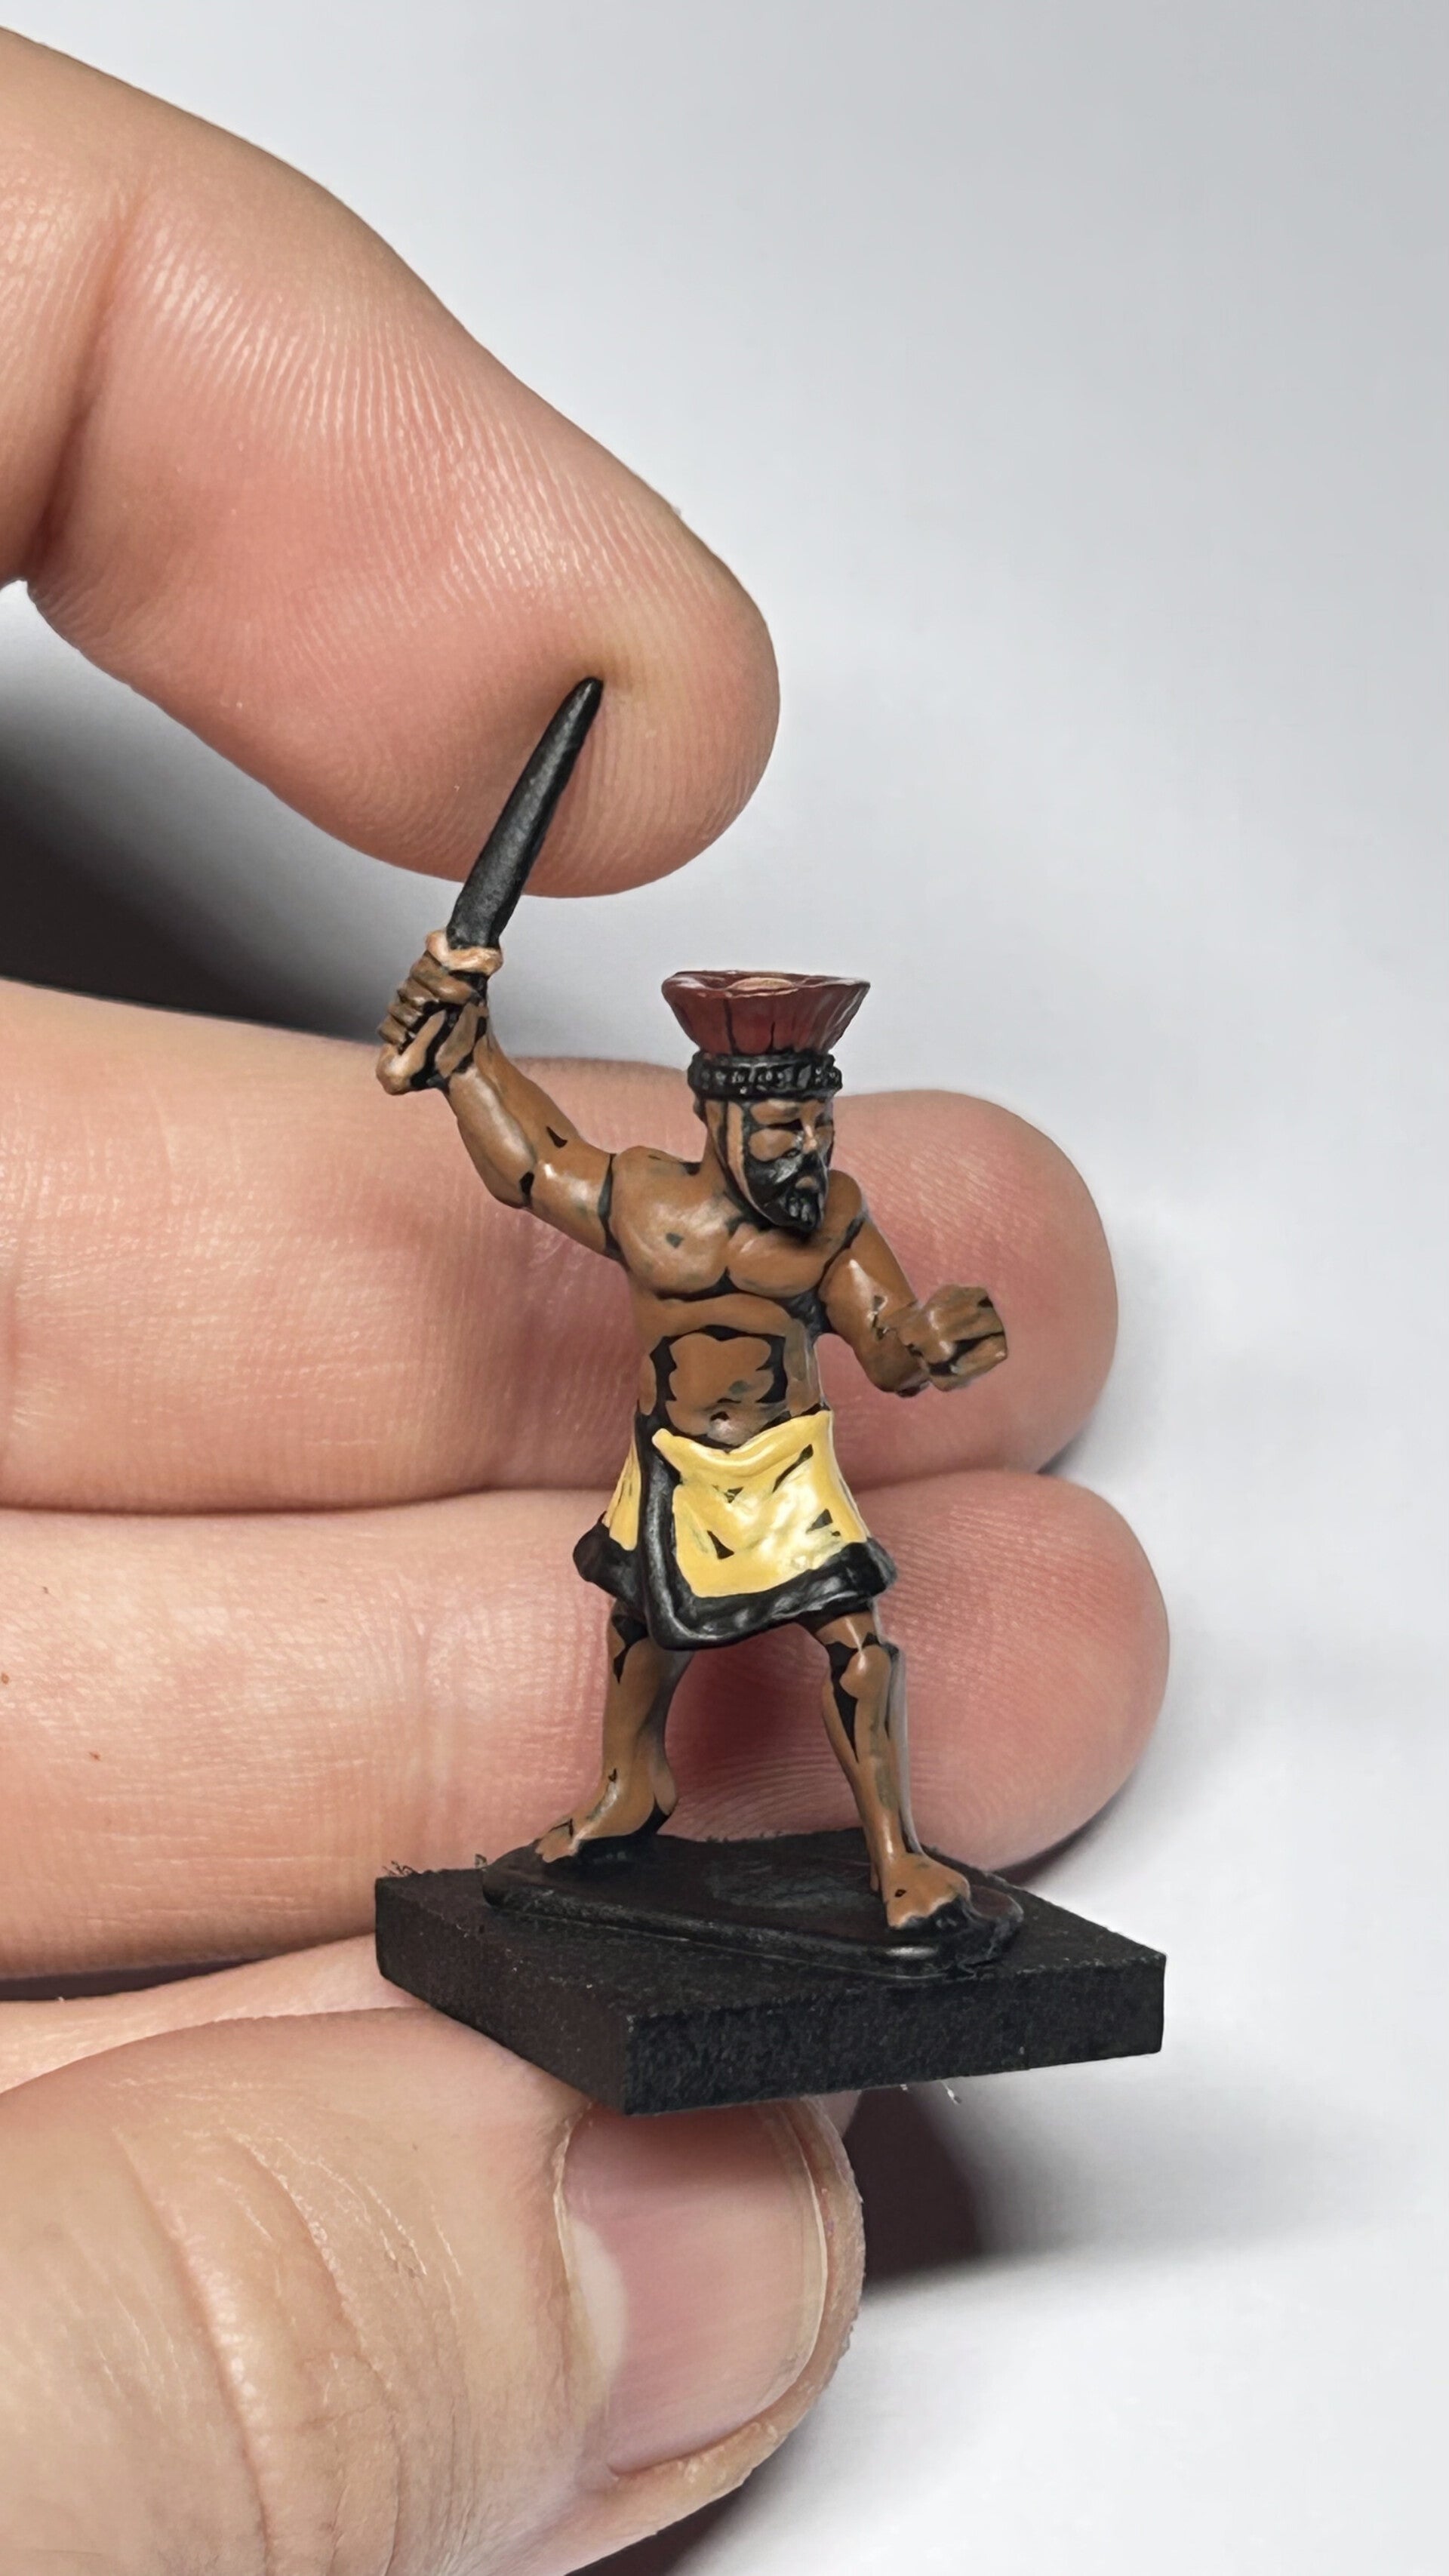
The finished product!
I do want to start off by saying that even though this step by step is focused on painting a Sea People Warrior, the ideas and thought process behind painting a miniature this way are applicable to any period or miniature.
I will be making more hobby articles in both written and video form like this in the future for various periods.
Now, lets begin!
Step 1: Preparation
Before painting any miniatures, a way to 'speed up' the painting process is to work out what colours you want on the mini before you do anything. You can research what colours work best for the period through various books or web searches, or even make up a colour scheme yourself.
I do this personally so that I have as little clutter on the table as possible. You can take a little time working this out before painting to use colours that you would like to have as a common theme in the army, or you can go a bit crazy and use a bunch of different colours on the same miniatures to have a more rugged look.
As a newer painter it may be difficult to know exactly what colours you want to paint your mini to start out with, so for this article, these are the colours that I have used:
Black (A) - Wargames Foundry - Clothing, Beard and Shield
North African Flesh (A) - Wargames Foundry - Skin
Boneyard (A) - Wargames Foundry - Skirt
Burnt Red - Vallejo - Helmet
Spearshaft (A) - Wargames Foundry - Straps, Helmet and Sword
Bronze Barrel (B) - Wargames Foundry - Metal
Bay Brown (A) - Wargames Foundry - Back of Shield
Arctic Grey (A) - Wargames Foundry - Shield
Now, I don't expect every one of you to have these exact colours, but you may have something to hand that is very similar, and that will work just as good as any of the colours that I have used. So, grab them and let's get painting!
As I said at the beginning, this is a step by step to get painted miniatures on the table, and as such, the best way to start is with a black undercoat, or primer. You can paint this on if you wish, but any rattle can will work well, and be less of a pain for those starting out.
There are many reasons to use a black undercoat for getting army on the table quickly. You can use it as a 'shadow' in the places your paintbrush can't touch, and it can also be a colour you use for specific parts of the miniature, so you don't have to paint it later on, as I've done on this mini!
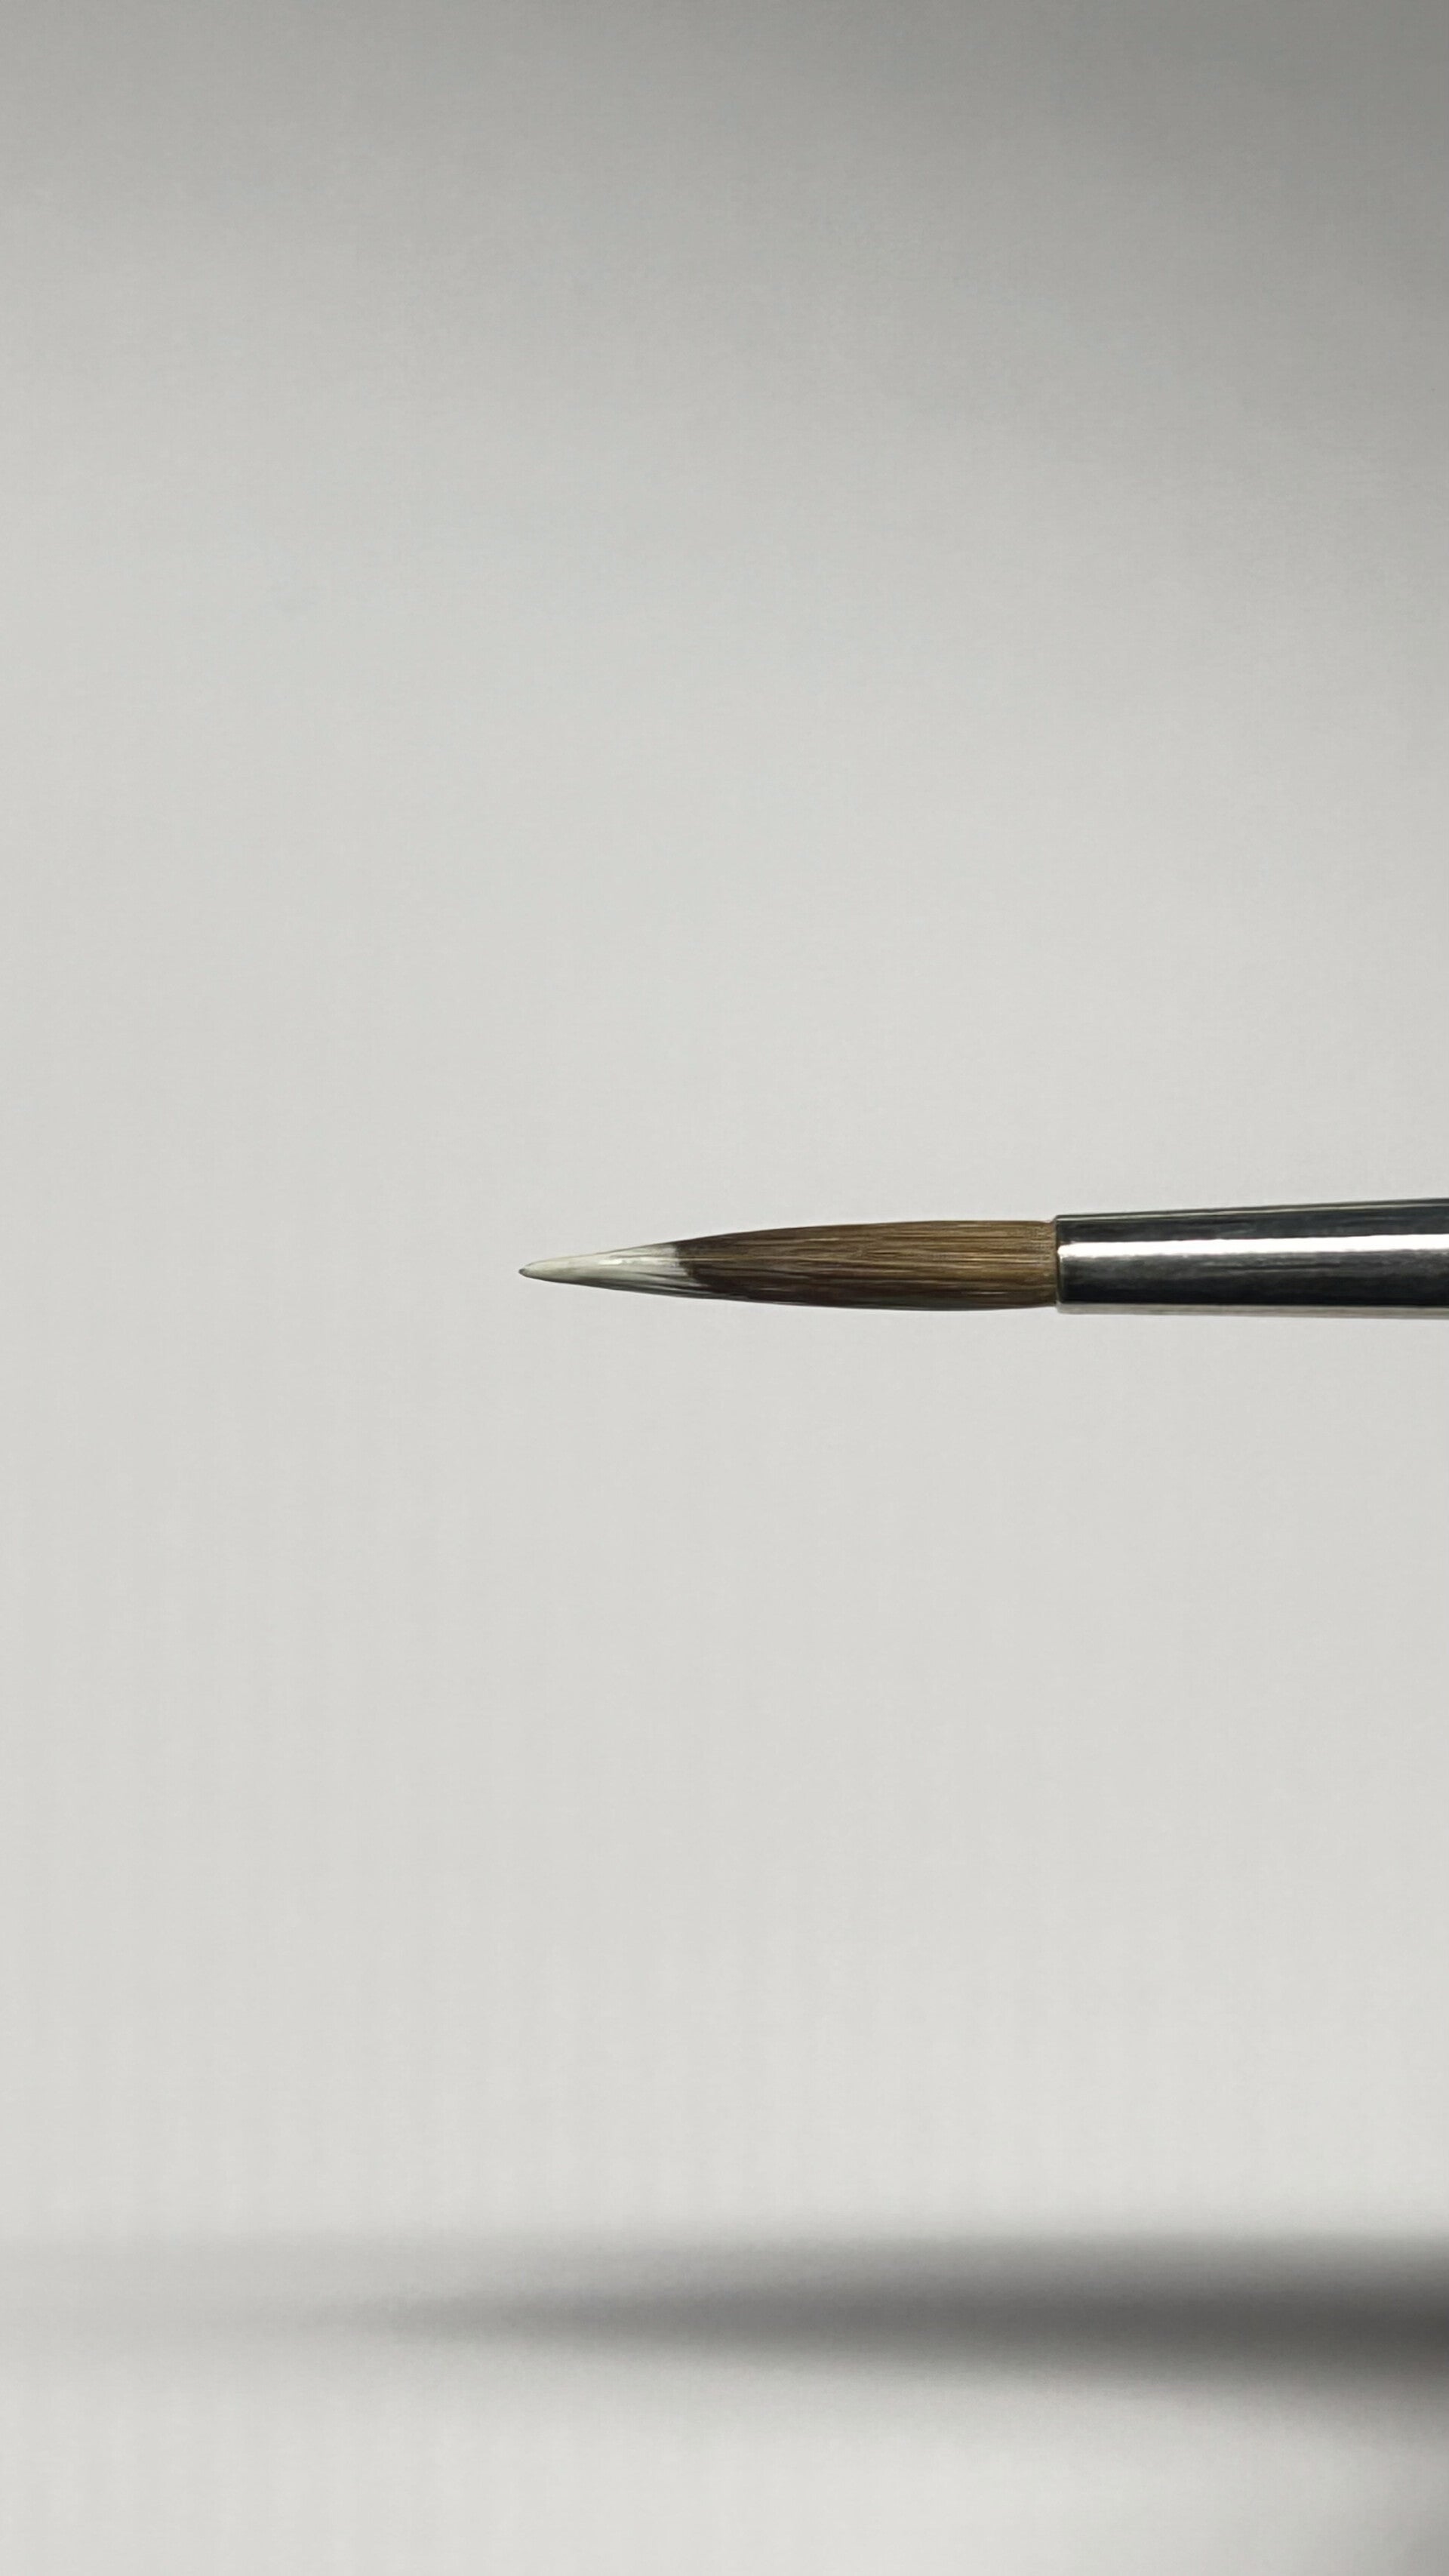
QUICK TIP
When using acrylic paints, make sure not to get your bristles completely covered in paint. This is an example of how much paint I would add to a brush to then use to start painting a mini. You can see the consistency isn't overly thick or thin. This does take practice to get right depending on what you're painting, but by painting more minis, you'll get better and better each time!
Step 2: The Skin
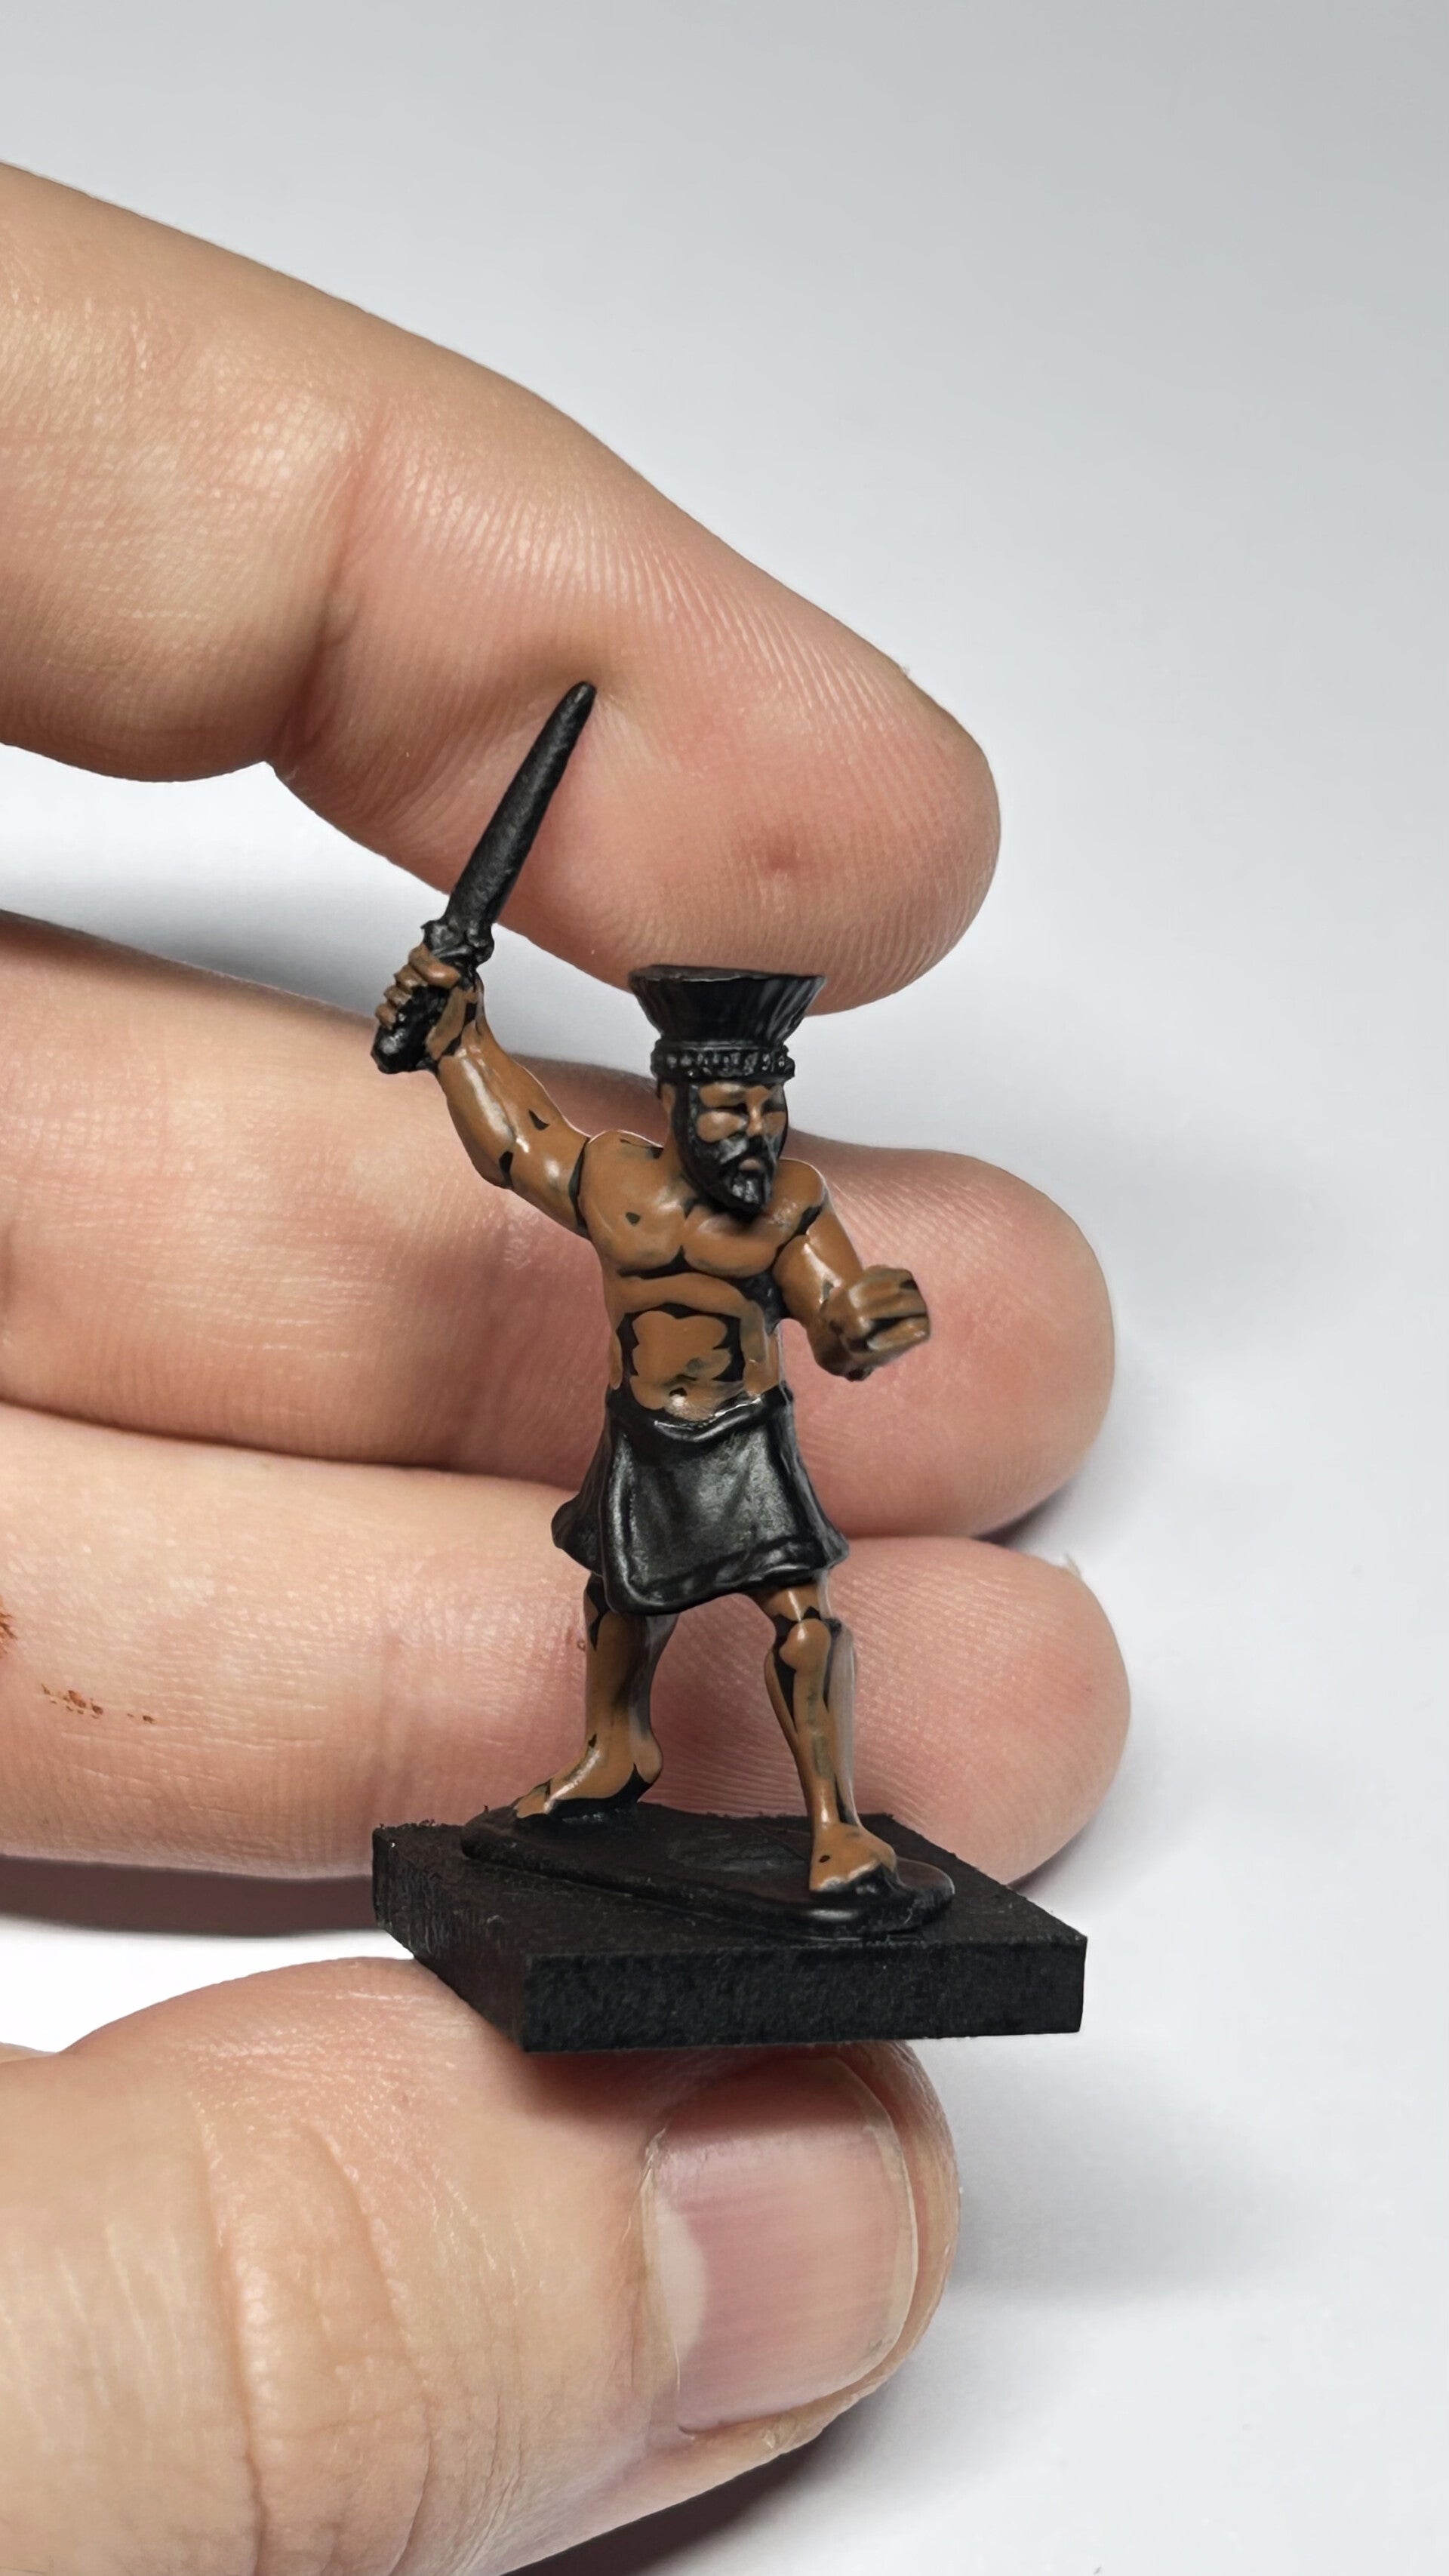

On most Bronze Age miniatures , the skin will constitute most of the miniature, and this is why I start with it. The reason for this is that if you paint over any other surface you don't need to worry about tidying anything up, as you still need to paint it in a different colour anyway, so don't worry if you aren't 100% neat at this stage!
I use North African Flesh straight out of the bottle as it has a nice consistency. My aim is to paint the main features of the muscles and face, but in the meantime, leave the black undercoat underneath to represent that 'shade'.
I usually start with the face and then work my way top down. This is just a process/habit that I have formed over many years of painting, but one tip I would suggest is to always paint the thing you might accidentally touch last. On this mini that would be the shield arm, as it sticks out, and his fist is something I would naturally hold to keep the miniature steady as I paint. You can see that in the photo I'm using the sword and back of the helmet as a secure point to hold the miniature as I paint the flesh. This might not always be something you can do, but keep that in mind when painting any colour!
One way to make painting the skin this way a little easier is to paint one specific part at a time, especially on the larger areas. Examples of this would be to paint one bicep at a time, then the forearm, then the fingers, or the front of one side of the chest, then turn the miniature around and then paint the shoulder. This will break up each muscle, and you'll naturally leave the black undercoat between the muscles, representing that 'shade'. It does take a bit of practice to leave black undercoat if you're not used to it, but it can save you lots of time once you get your head around it!
Now the skin is done, and congratulations, as you've now completed the hardest and longest part of the miniature!
Step 3: The Skirt
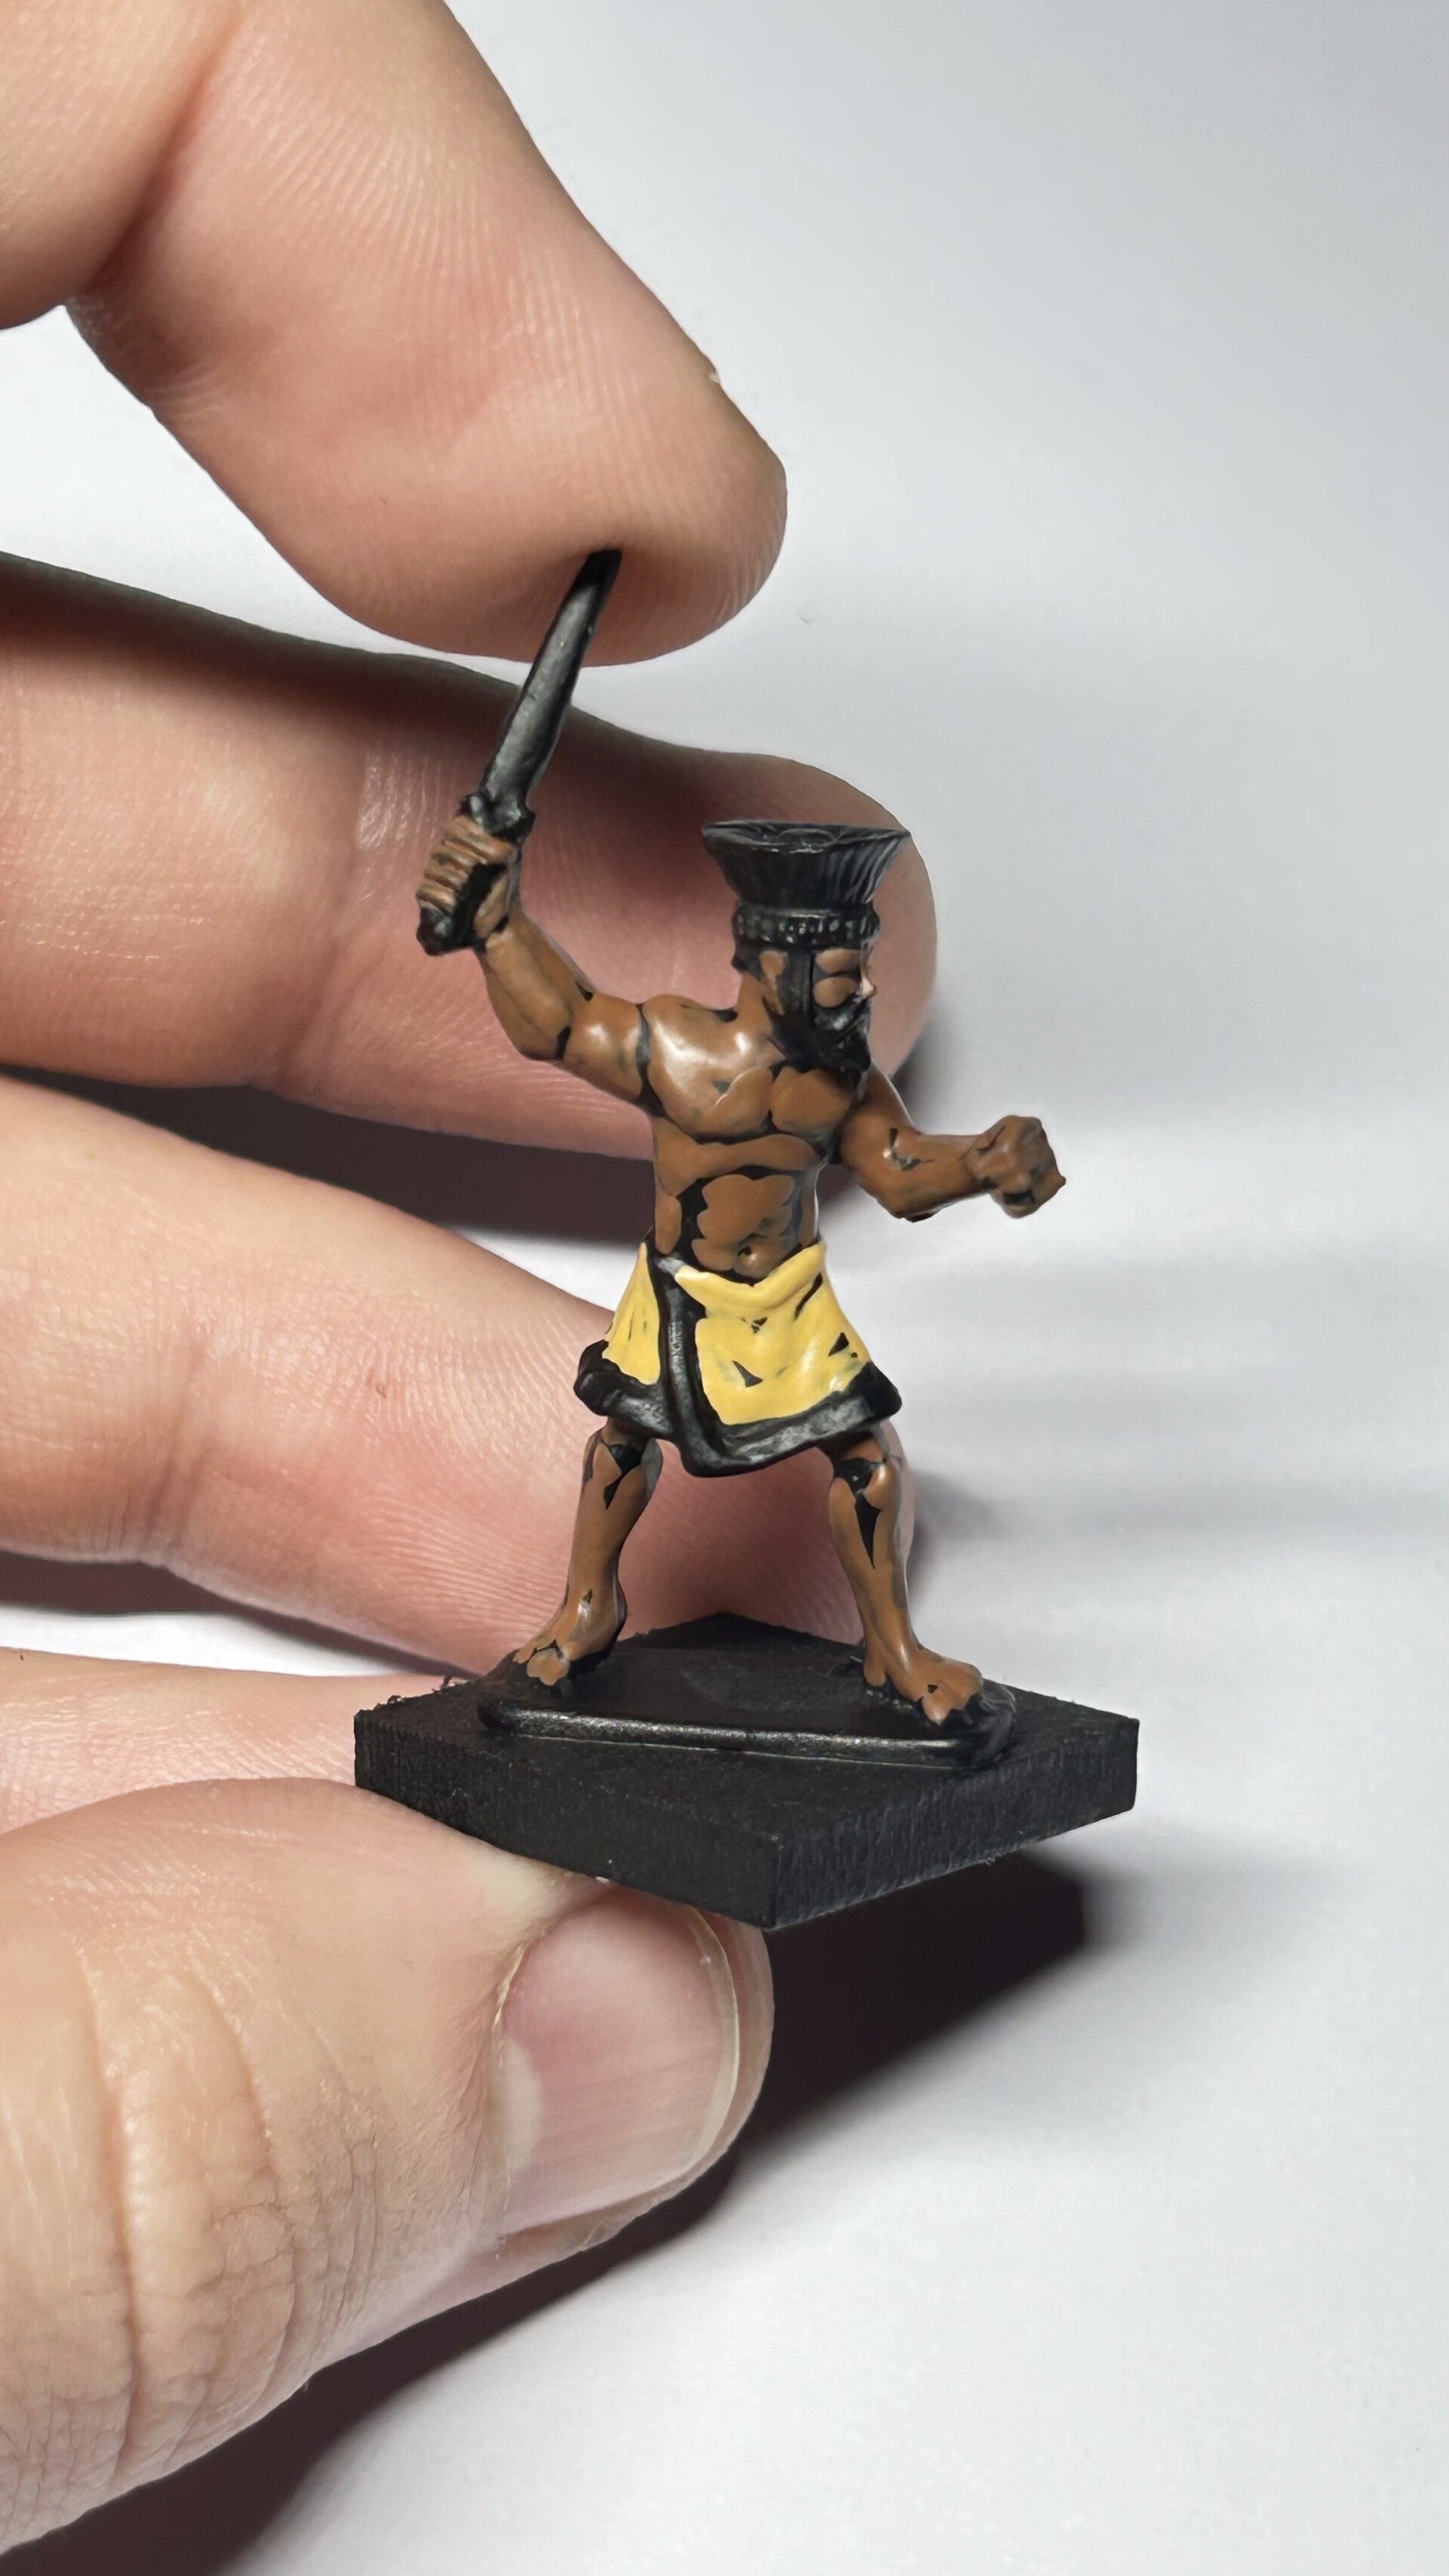

As mentioned at the start, I decided before even starting the mini to paint the skirt in an off white colour. I think its a good generic colour to use to represent an undyed linen or wool.
Again, I use Boneyard straight out of the bottle, and now I have to be a bit more careful to try and not touch any of the skin I've previously painted. A tip for this would be to turn the mini 90 degrees so that you can paint around the waist with your brush, with more control.
You can see again that I've left black in a few places, but most importantly there's a border around the trim of the skirt. This emphasizes the trim of the skirt and is a perfect example of how the black undercoat can be used to emphasize aspects of a miniature, without having to paint it!
Step 4: The Helmet

I'm trying to use red in my army as a unifying colour, even though I plan on having lots of different colours as I don't want them all to look the same.
Helmets are a perfect way to get these unifying colours into an army, but other periods might have sashes, feathers, and (of course!) even uniforms to represent uniformity.
You can see that I've again kept some black in between some parts of the red on the helmet, this is where each new brush stroke ends and the new one begins. You can join these together if you wish, but try to keep some black as it represents each individual strand/reed in the helmet.
Step 5: The Brown

This step is one of my favourites as you can start to see the miniature coming together now.
Almost all minis from different periods have brown on them, in the form of straps, wood and even shoes. Using the same colour for similar things can be a quick way to get a mini painted.
We are now getting into a bit more detail with our painting, so remember to take your time and be as neat as possible. Don't worry if you get paint on a part you've already done, just wait for the colours to fully dry, then go over it with the correct colour.
On this Sea People Warrior, I've used Spearshaft to paint the sword handle, the straps on the helmet, as well as the soft covering on the top of the helmet itself. If you'd like, you could use a couple of different colours for this part. As we'd like to get some painted minis on the table as quickly as possible, this works more than well enough, so on to the next step!
Step 6: Black and Metal
There are only a couple of things to finish off on the actual warrior now, and I will admit, I've cheated a bit here!
Black is a great colour to use on surfaces that you may change later. In all fairness though, I think it's well within the rules to use black on different surfaces if you like. As I mentioned at the start of the article, a good black undercoat can save you some painting time, so use it to your advantage! In this instance, all I've had to do is paint some black around parts of the beard and trim of the skirt where some other colours have touched it, and that's done!
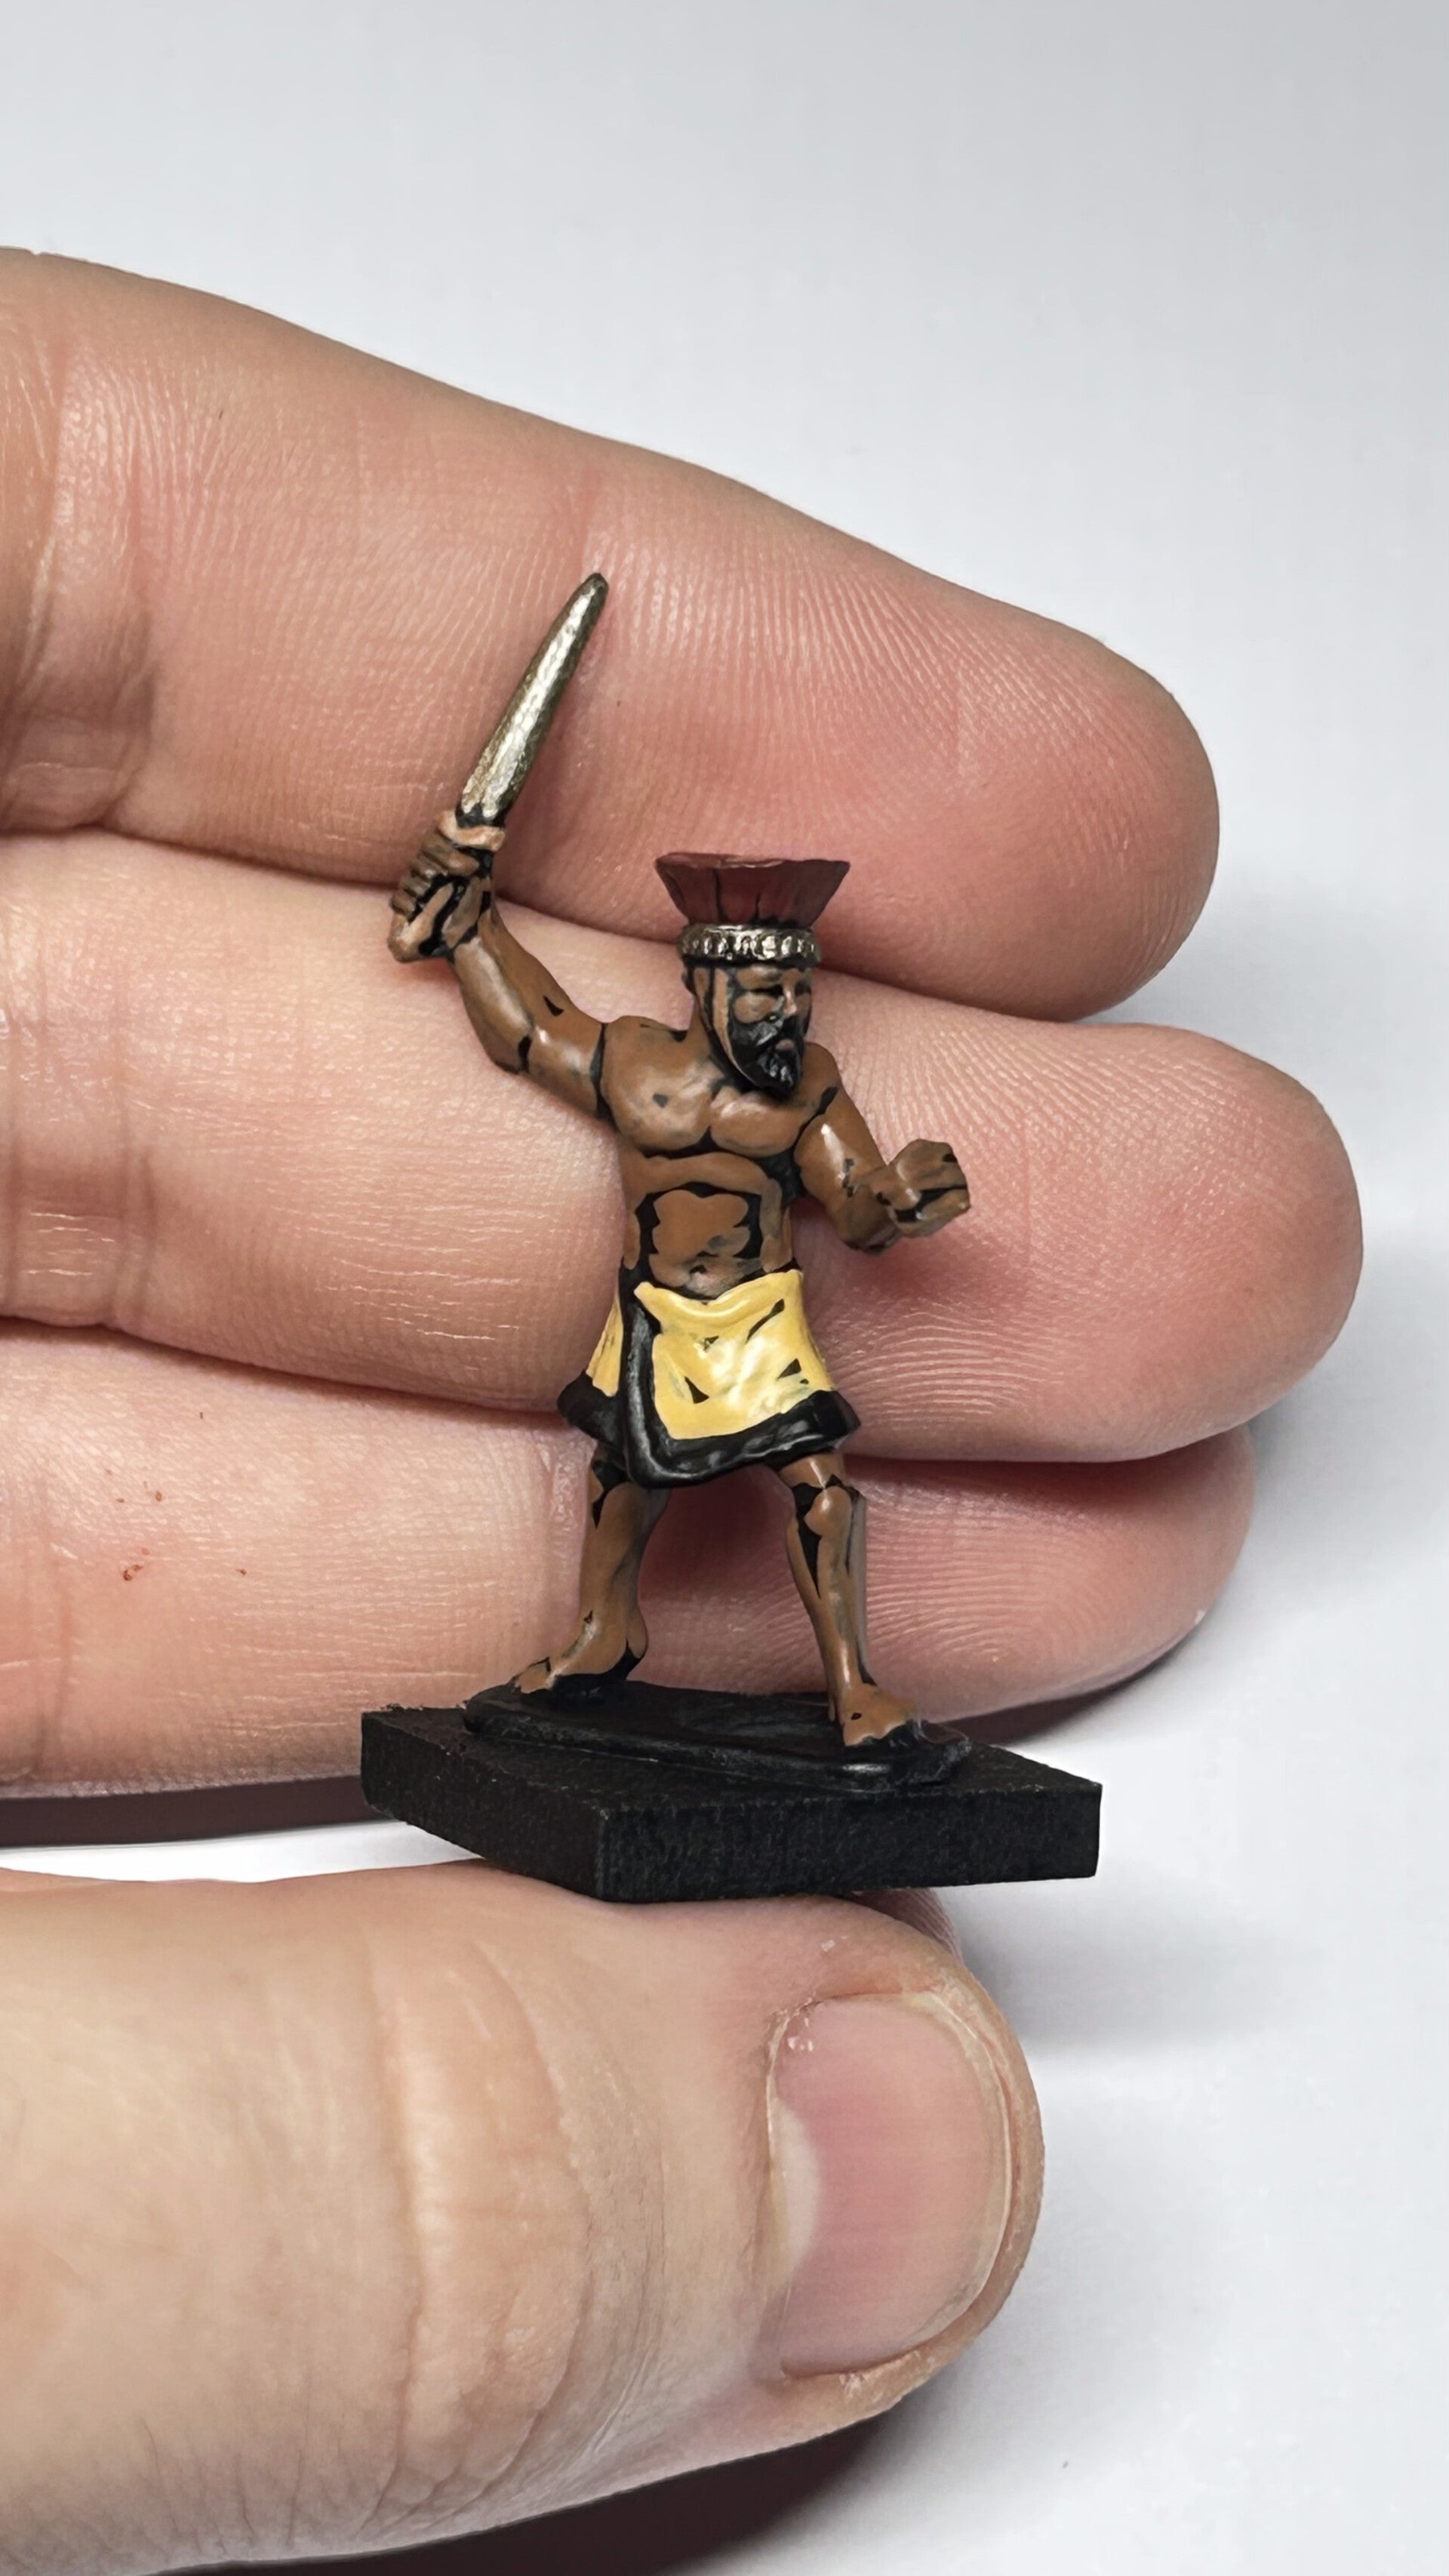
As for the bronze parts, I used Bronze Barrel, again straight from the pot, and painted the band of the helmet and the sword. Be extra careful when painting the headband, but you can use my tip of turning the mini 90 degrees and using downward brushstrokes to have more control of your brush.
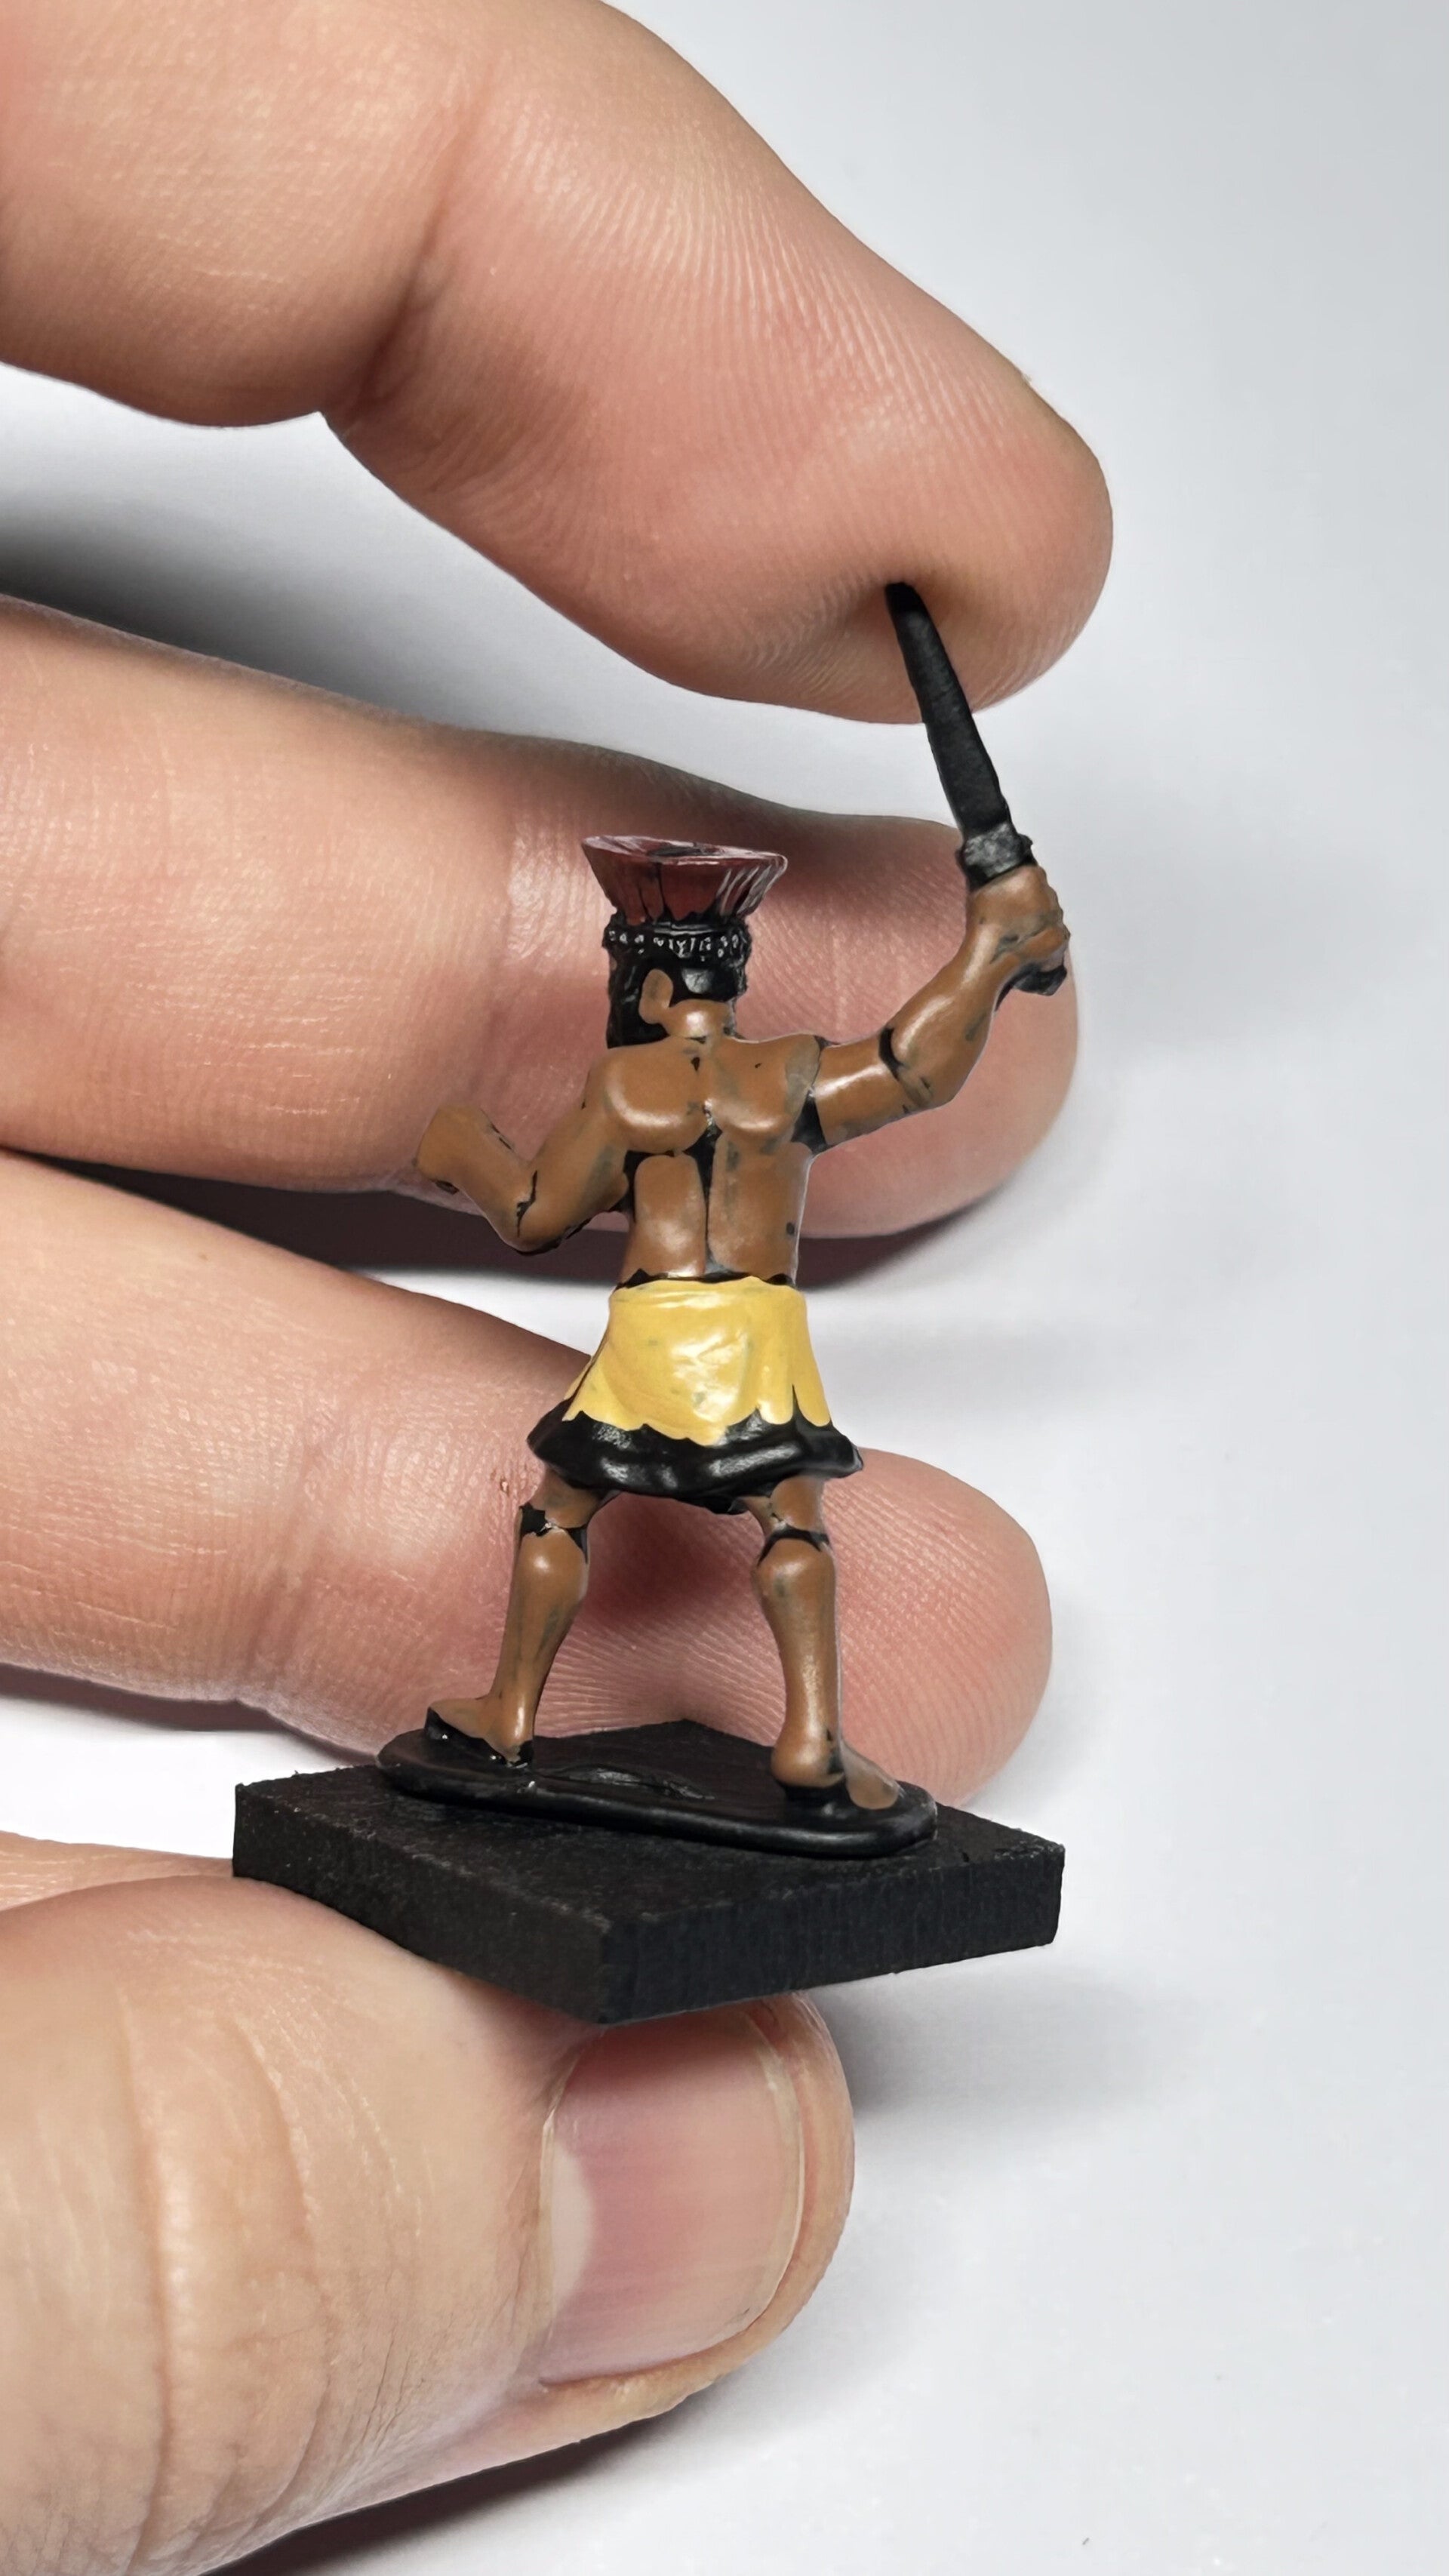
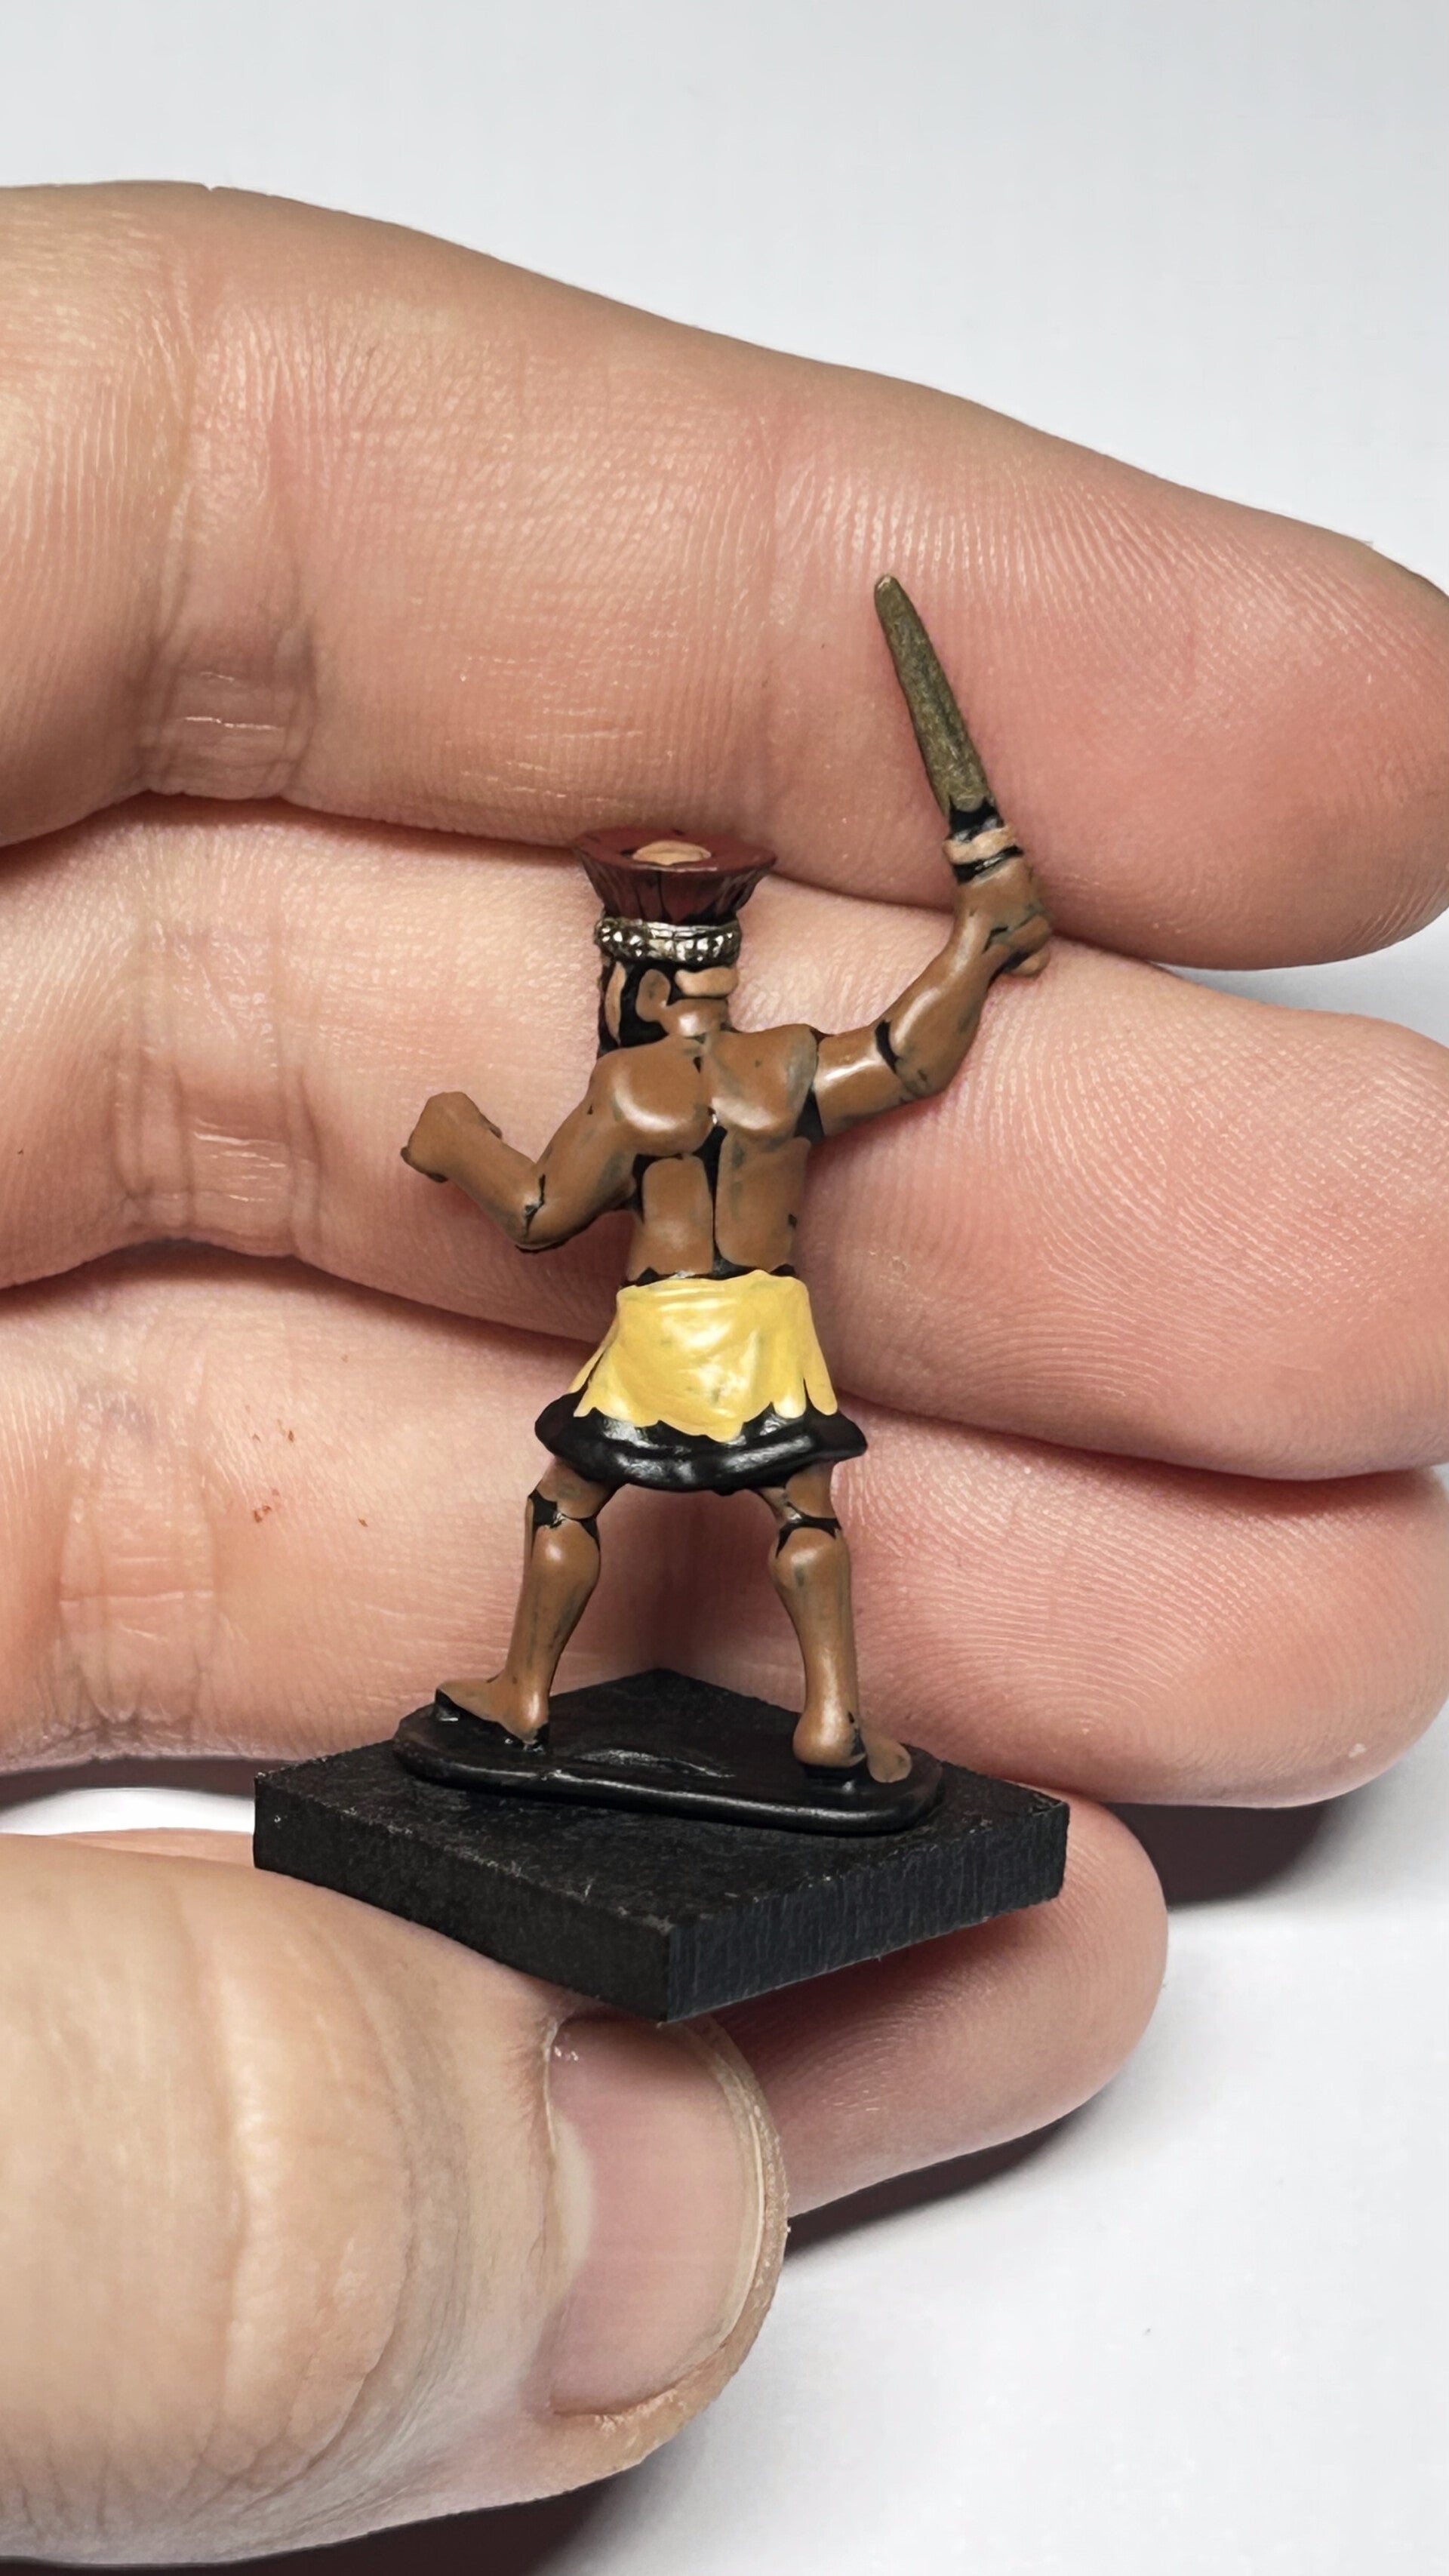
That is the mini itself done!
To get to this point, it took me just over 8 minutes. This wasn't including drying time, but if you had 5 or 10 minis on the go you could move on to the next step with the first mini as it would be dry by the time you finished the last one. The trick is to paint a manageable amount of minis at any one time, and in the order or technique that suits you best. I know painters that will paint one hand at a time on each mini before moving onto the next as it breaks it up and keeps it interesting, whereas others like to paint a whole unit of 20+ at a time. Try some different ways and you will quickly find out what works best for you!
Now, onto the shield!
Step 7: Back of the Shield

This part is simple, but could be even simpler if you wish.
This shield has simply been sprayed black, then painted with Bay Brown. You could just as easily buy a brown rattle can and spray the back of the shield. I do this on almost all of my miniatures shields, and it saves lots of time! The trick here is to spray the rattle can lightly, and do a couple passes to build up the colour, if needed.
I tend to find that painting shields separately can allow you to paint parts of a miniature that are hard to get to once the shield is attached. My rule for this is that if a shield will cover a large portion of the body of the miniature, glue it on first before painting, if not glue it on after.
Whichever way you decide to paint the back of the shield, once its fully dry, glue it to the hand of the mini and again, wait for that to fully stick before moving on to the next step!
Step 8: Painting the Cowhide

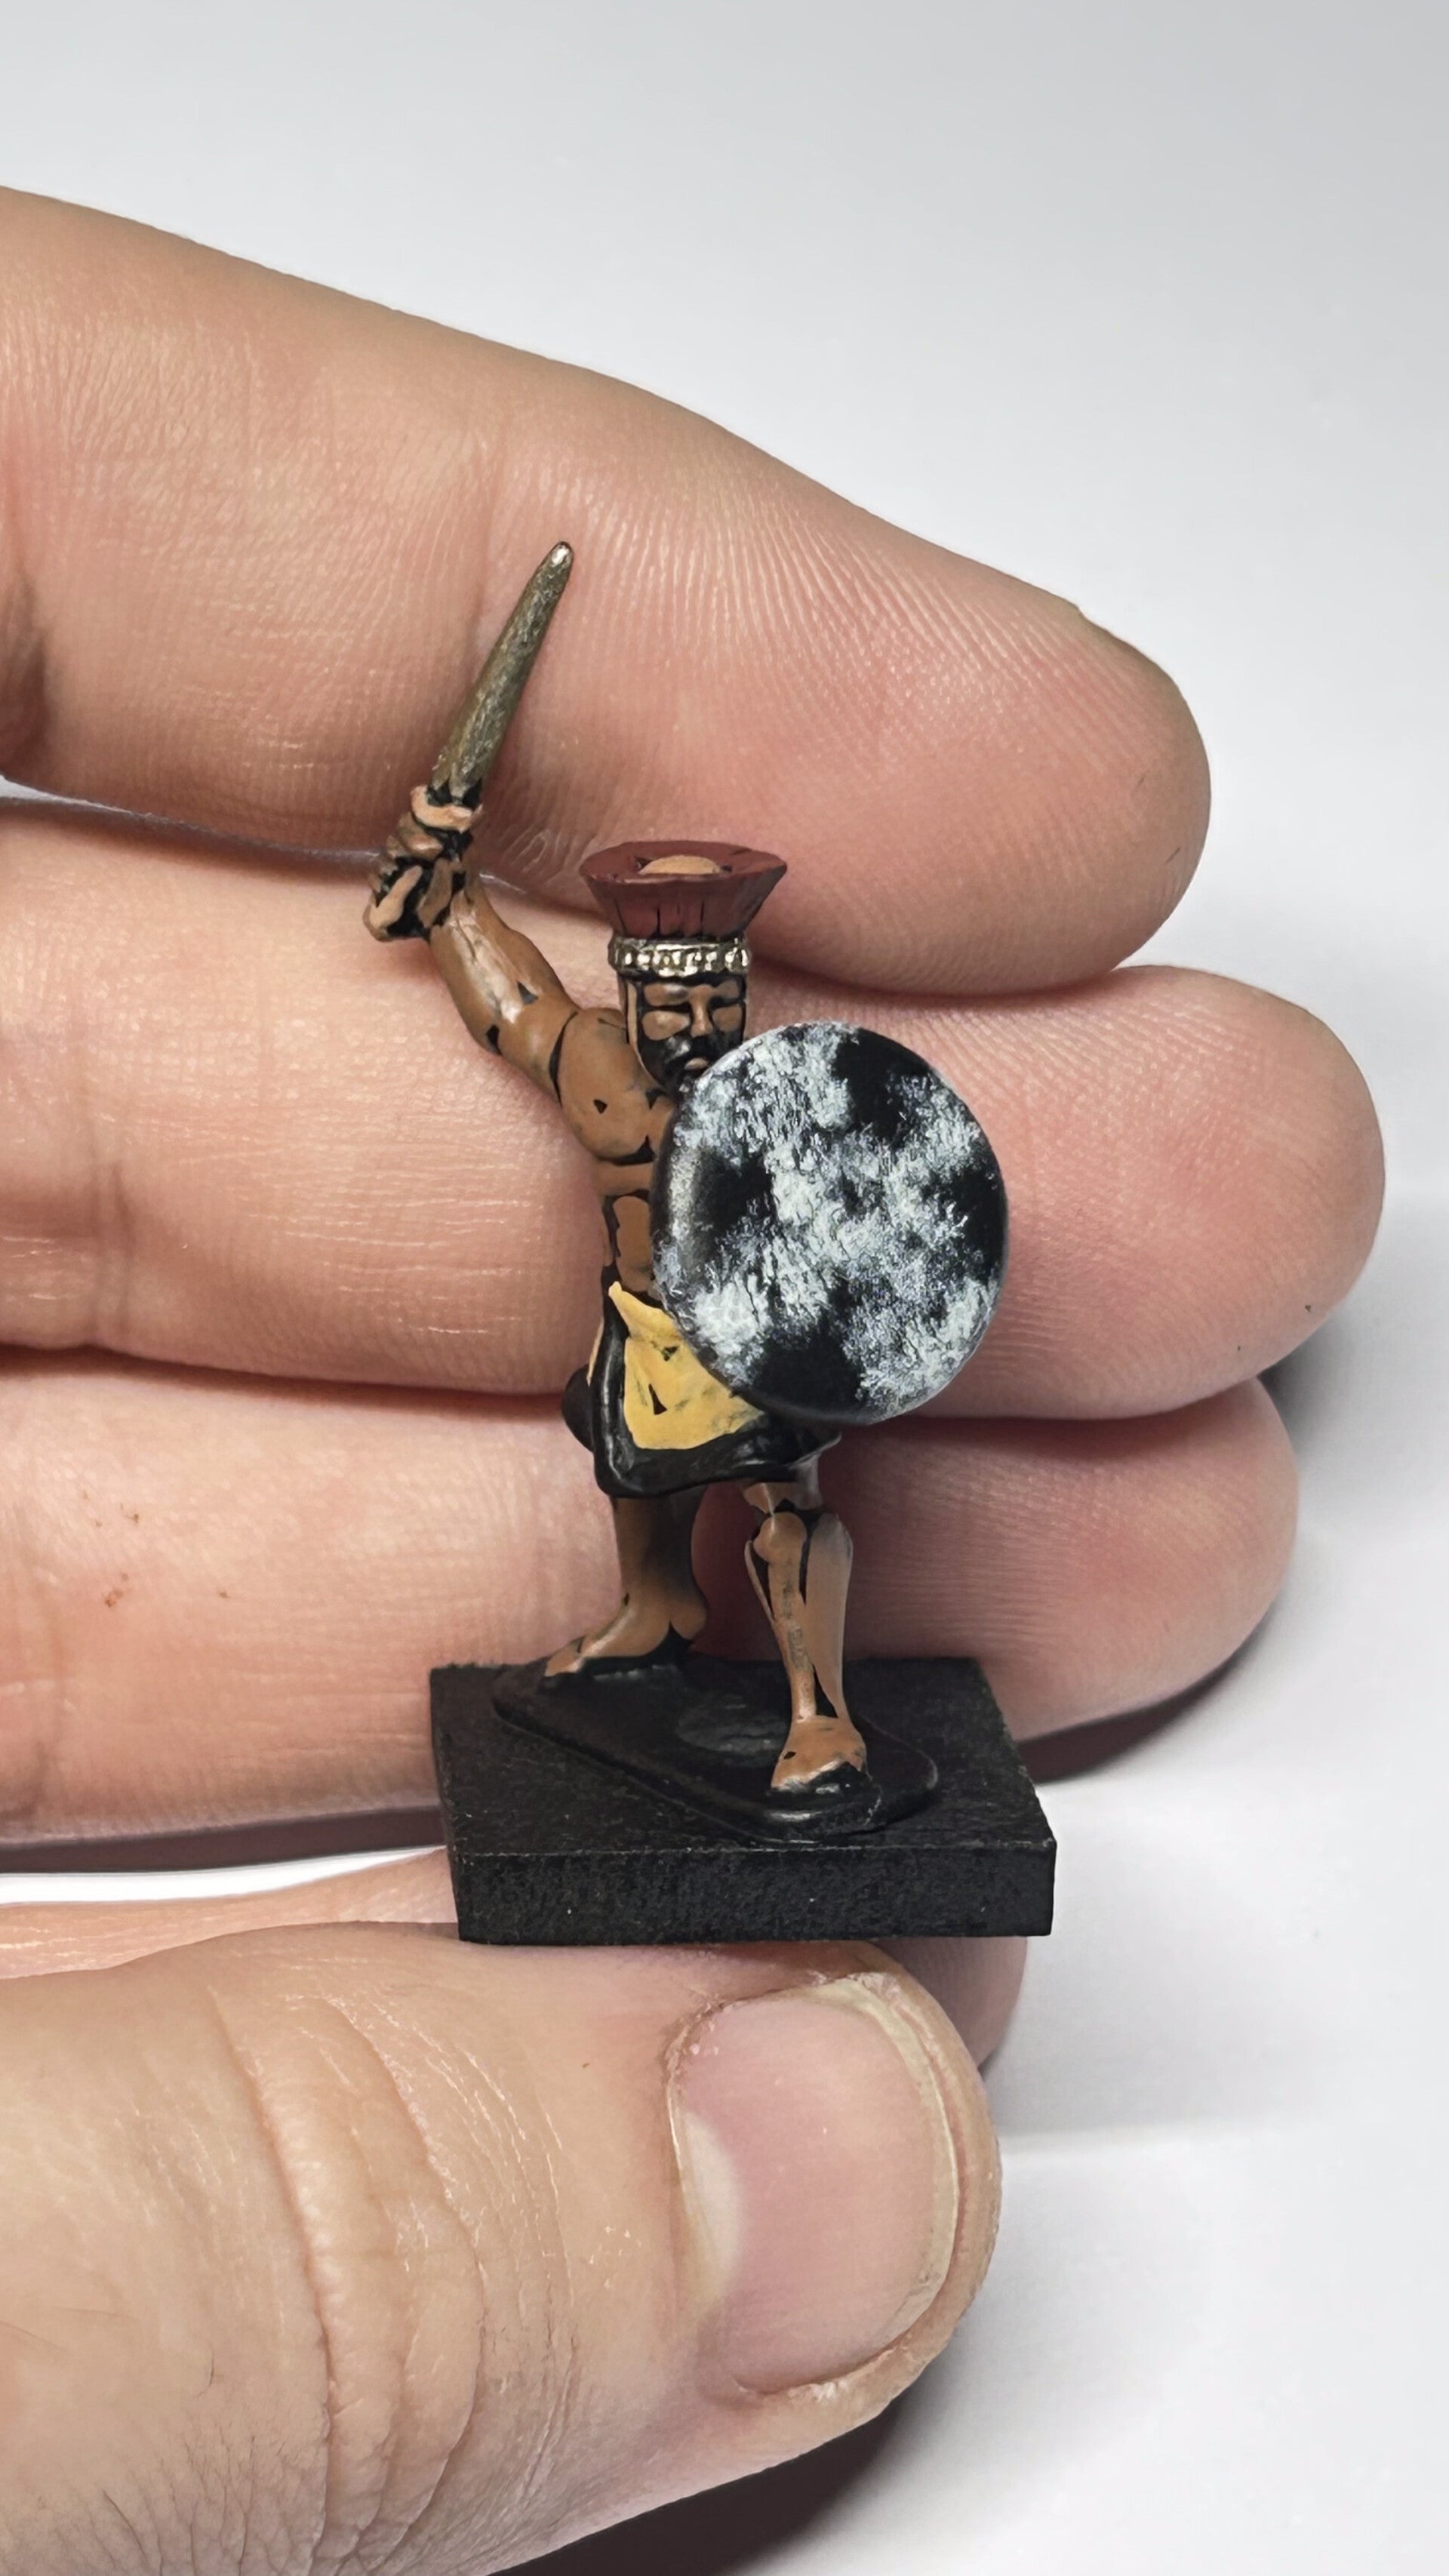
Although the shield has also been primed black, once the shield has been attached, you may need to paint the front of the shield black again. This is to clean up any parts that may have been painted brown accidentally in the previous step.
Once that's fully dried, use Arctic Grey and an old but neat/ish brush to dab on our cowhide design.

You can see where I have loaded the brush up with the grey on the bristles (just over half way up) and then used some tissue paper to wipe 99% of the paint off. You want the brush to have enough paint on so that you can dab it on the shield and create this quick and easy cowhide effect. This might take multiple dabs to get the desired effect.
If the brush is too wet use the paper towel to take more paint off, and then go straight back to the shield with the paint already on it and dab the brush. The trick is to not drag the brush, dab only. You can be a bit more heavy handed with this, but experiment, as you can get lots of very nice effects!
Step 9: Basing


Basing can be as complex or as simple as you like.
However, it is an important final stage of painting a miniature.
For this Sea People Warrior, I have used our Ready Mix Basing Material D for an instant result. All you have to do is apply PVA to the base, avoiding the miniatures feet, dip your miniature into the basing material, lightly tap off any excess, then wait for it to dry!
Once the base is completely dry, I used our Arid Self-Adhesive Grass Tufts to add some foliage to the base. I also like to use a mix of different coloured tufts for this to make the bases a more natural look.
Well done! You've now finished a Sea People Warrior for On Bloody Ground - The New Kingdom
I did time the whole process myself, and as you can see, it can be done in less than 10 minutes! If you're entirely new to painting, or have never painted a warrior from the Bronze Age before, this may take a little longer, but with practice, you will undoubtedly be able to get a painted force on the table very quickly.

Tips to Remember
Throughout this article, I have marked in bold what I consider to be important things to remember when painting any miniature. If you keep these in mind when painting in the future, you will become a better painter, and may find things easier than you have done in the past.
Listed below are all of the tips I have suggested in this article in a shorter form that can be of use on any miniature you paint in the future:
- A good black undercoat can save you some painting time, so use it to your advantage!
- If something is awkward to paint turn the mini so that you can paint downward strokes with your brush, as it is much more controlled
- Paint a manageable amount of minis at any one time, and in the order or technique that suits you best
- Using the same colour for similar things can be a quick way to get a mini painted
- If able, always paint this thing you might accidentally touch last
- If a shield will cover a large portion of the body of the miniature, glue it on first before painting
Look out for our next article, where I'll show you how to highlight this Sea People Warrior if you want to take your miniatures to the next level!
If you have any tips for new painters, or secret knowledge that helps you get an army painted and on the table quickly, let us know!
Add comment
Comments
This was a nice read, plenty of good information for me as I am pretty new to the painting side of things and sometimes find it hard to know where and what to start with. Getting used to leaving parts of the model black for shading is particularly tricky when first starting out as well as I tend to overpaint in those areas to try and cover the full mini, so it was good to see how you can use this application to your advantage.
I will be looking forward to many more of these types of articles to help me continue to improve.
Thanks for commenting, and glad to hear it is useful!
Starting out in the hobby can be a bit daunting, but there's nothing better than getting some painted minis on the table to play with. Just keep working at it and you'll quickly find out what works best for you!
Dan